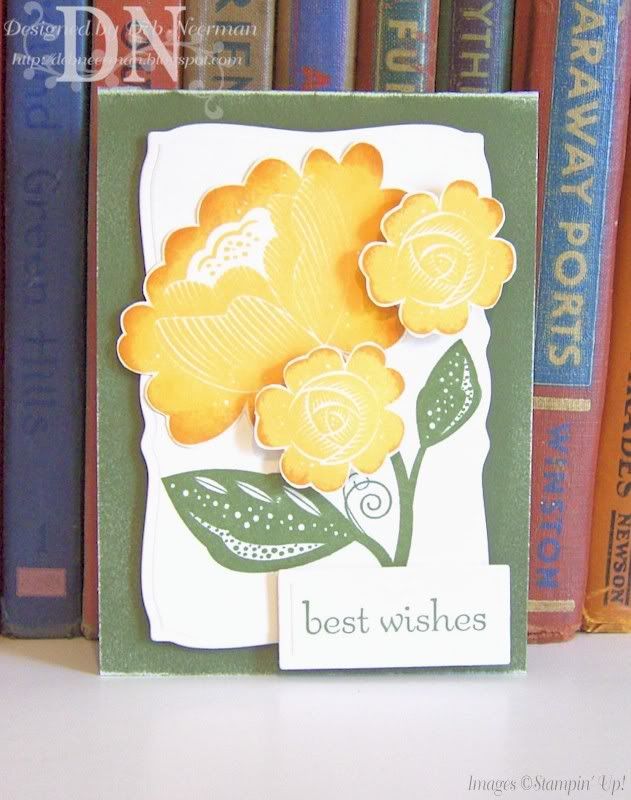
Showing posts with label Nestabilities. Show all posts

Wednesday, June 10, 2009

Earth Laughs in Flowers?

Pin It


Hello, my wonderful stampin' friends! I've missed all of you bunches ... and the rest of the Internet ... and email service and stuff.

Due to worthless Comcast circumstances beyond my control, I haven't been able to post to my blog OR respond to comments and emails. I apologize in arrears ... I can double-back on the post comments, but if you've emailed me, oops! Please resend.

I promise to get around to all of your blogs as soon as possible to see all the beauteousness y'all been creating while I was incommunicado.

Today's belated card project was created for SCS's "Sketch Challenge," SC231 ... right in time for this week's sketch! For all the challenging deets, including a look at the sketch I followed, clicky HERE. To go straight to the SC231 card photo gallery, clicky HERE. To see the ginormous view of my card, just clicky there on my photo.

So, one of the kewl things I wanted to mention to all of you is that Janlynn, the makers of Stamps Happen craft stamps, is having a HUGE sale!! And I do mean huge! The prices, 80% off!, are phenomenal and the items on sale are all paper-crafting-must-haves. You need to race over there right. now. and check out all the sale-priced goodies. Sale ends on June 14, 2009. Clicky HERE to check it out.

I'm gonna hustle over there myself and fill up a cart ... provided I don't lose the Internet between now and then ...

And now, your Sheila-fix for June 10th:

So, this past Sunday while I was hangin' out with Sheila enjoying her donuts company, her DH, Ken, was sitting opposite us, reading the paper.

He came across an article about a beautiful actress that was about to marry a celebrity ... who was known primarily for his lack of smarts and common sense.

"I'll never understand why the biggest idiots get the most attractive wives." Ken said.

"Why, thank you, dear!" Sheila responded.

And that's when I left. But I'll be back tomorrow ... the mediocre-Comcast willin'!

~Hugs,
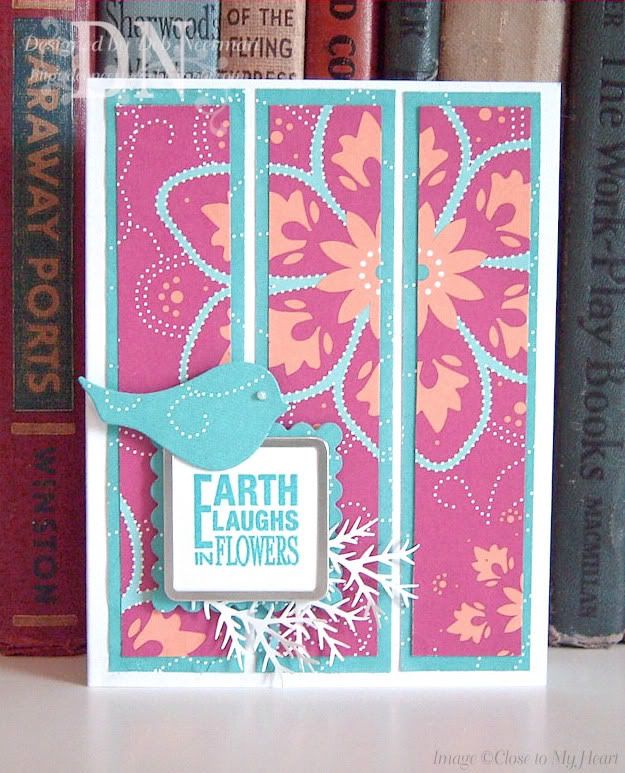
  • Card Stock: "Stampers Select" White by Papertrey Ink
  • Designer Paper: "Bali Breeze" Collection (Retired) by Stampin' Up!
  • Stamps: Sentiment from "Make My Day" Set by Close to My Heart
  • Ink: "Cote d'Azure" Hybrid Ink by Stewart Superior
  • Accessories: Pearl Rhinestones by Michaels
  • Tools: Die Cut Machine; Nestabilities Dies by Spellbinders; Shapeabilities Die by Spellbinders; Pine Bough Punch by McGill; Tag Maker by Making Memories
  • Finished Size: 4 1/4" x 5 1/2"


Monday, May 18, 2009

Clean and Simple? You Tell Me:

Pin It


Happy Monday, Stampers! Hope your weekend felt like a week!

Today's card was created for SCS's Clean and Simple challenge, CAS14, "Let's Rock and Roll." For all the rockin' challenge deets, clicky HERE. To go straight to the card photo gallery, clicky HERE. As always, clicky on the photo for the ginormous view of my card.

While the Rock 'n Roll Technique is certainly fun, and creates a really kewl effect, I find that I always stain my wood mounts. And since I'm way too anal, I then spend hours sanding the stains off my wood mounts. Do you do this too?

I'm also wondering how "clean and simple" this card is ... I'll upload it to SCS anyway, but it seems to be a bit busy for a CAS card. Whaddya think?

TIP: Try doubling up on your foam tape to add even more dimension to your stamped images. This is especially effective when you have more than one cut-out image on your project.

For all the rockin' product info, check out the Supply List, below.

Soooo, this weekend Sheila needed a birthday present for one of Reid-the-Wild-Child's little friends. And, of course, she needed my help. So, off we go to our local Wal-Mart to find a cheap nice birthday gift.

As we were wandering aimlessly through the store, we heard the intercom come on:

"I have a customer in hardware who needs assistance at the paint counter."

Then, a few minutes later, we hear the intercom come on again and, in a tentative voice, we hear a woman page:

"I have a customer by the balls in the toy department and need assistance."

We weren't the only ones in the store who cracked up ... and of course, THEN we had to go to the toy department to check it out shop!

Never a dull moment ...

~Hugs,

  • Card Stock: "New England Ivy" Card Stock by Close to My Heart; "Vintage Cream" Card Stock by Papertrey Ink
  • Stamps: "Bella Blossoms" Set by Stampin' Up!
  • Ink: "New England Ivy," "Sunflower," and "Autumn Terracotta" Dye Inks by Close to My Heart
  • Tools: Die-Cut Machine by Provo Craft; Nestabilities "Labels One" Die by Spellbinders; Nestabilities "Long Rectangle" Die by Spellbinder's; Foam Tape; Sanding Block

Friday, September 19, 2008

I Can Stop Any Time I Want!

Pin It


I just love this stamp! Did I mention that before? Come Fall, I find myself using it over and over. Don't worry; I can quit usin' any time I want ...

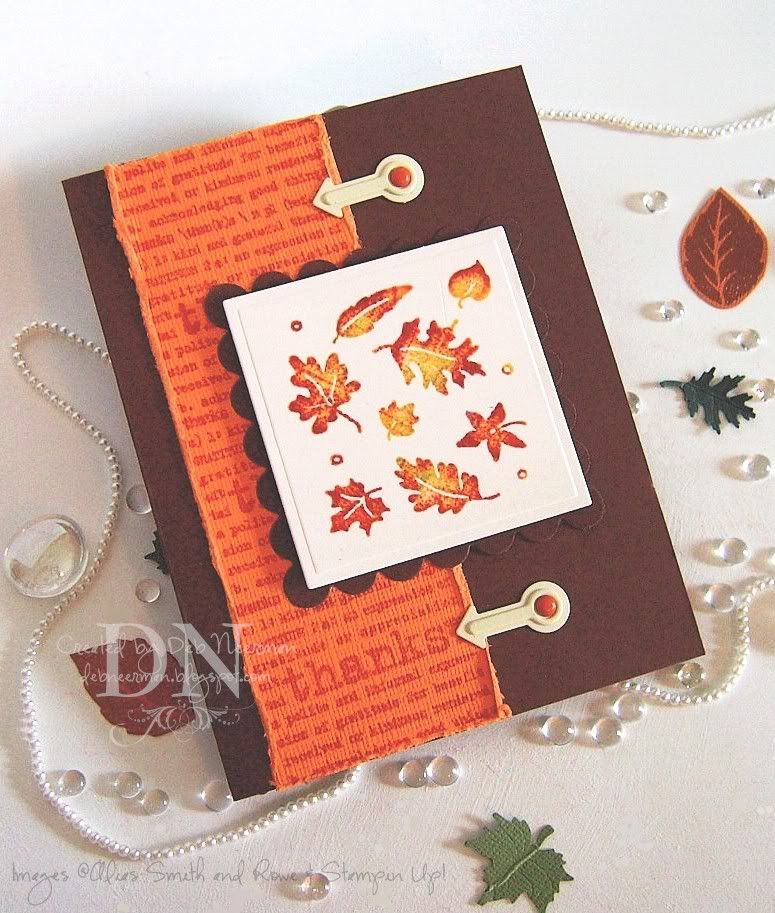
This is a super-simple design to CASE. I used a stamp positioner to stamp my sentiment on a strip of pumpkin-colored card stock, then distressed the edges.

I loaded my loverly old stamp with Versamark, then tapped on Close to My Heart dye inks in "Sunflower," "Garden Green," and "Hollyhock," and embossed with clear embossing powder. I cut out the image, and a scallop edge mat, then mounted the image using dimensionals.

Lastly, I added some metal arrow photo turns and some terracotta brads ... easy-peasy and ready to serve in just ... 22 minutes!

So, the DH went to the doctor the other day for his annual physical. In passing, he mentioned to his doctor that he had a song stuck in this head ... and had for a couple of days. I hate it when that happens ...

The doctor asked him which song.

The DH told him it was an old song called, "The Green, Green Grass of Home."

Suddenly serious, the doctor told the DH that it sounded like 'Tom Jones Syndrome'.

"What?!? Are you kidding?" the DH asked, then, " ... is it rare?"

"Well," his doctor replied, "it's not unusual."

Seriously.

~Hugs,

  • Card Stock: Bazzill Basics; Papertrey Ink
  • Stamps: "Lexicon of Love" by Stampin' Up!; "Falling Leaves" by Alias Smith and Rowe
  • Ink: Versamark Watermark; Dye Inks from Close to My Heart
  • Accessories: Arrow Photo Turns; Terracotta Brads from Close to My Heart; Clear Embossing Powder
  • Tools: Die-Cut Machine; Nestabilities Dies; Heat Gun; Paper Distresser; Dimensionals; Scrap Fusion PA;

Sunday, September 14, 2008

Not Just a Challenge; It's Dinnerware, Too!

Pin It


Happy Sunday boys and girls, hope you're not dealing with the before, during, or after-effects of Mr. H. Cane Ike.

Which reminds me, did you know that there's actually a technical term for a sunny, warm day which follows two rainy days? Yup: Monday.

ONward Hoarding-Card-Makers:

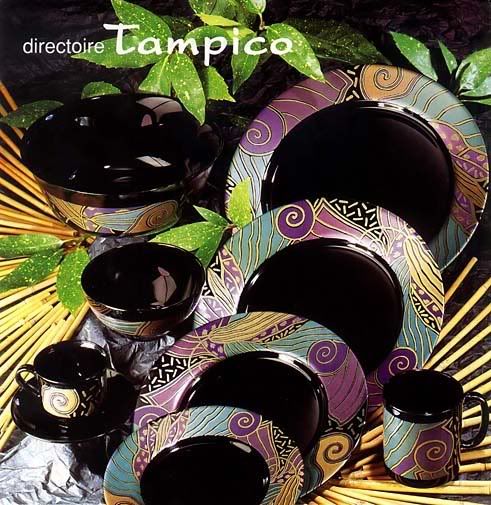
Today's card project was created for the Stamping Challenges to Love. This weeks hostess is my friend, Annapurna ... who chose an inspiration challenge for her theme. Here's Anna's inspiration piece:


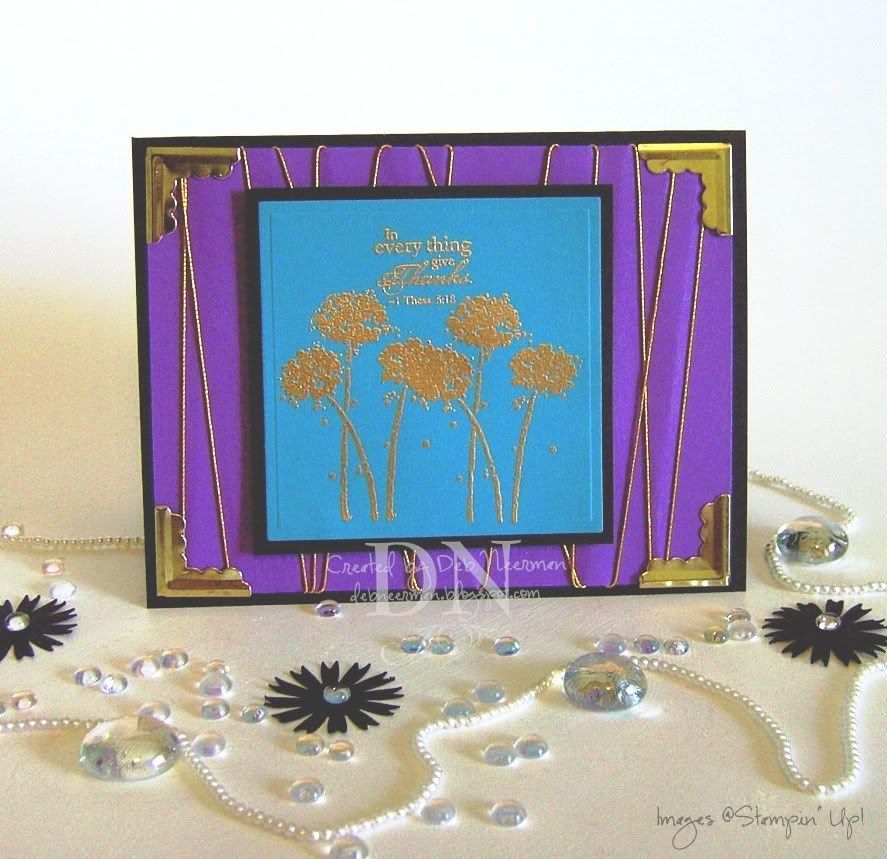
My entry is super-simple; I stamped my flower image twice on teal card stock and embossed with gold powder. I used a Stamp-a-Ma-Jig to position the text above the flowers and cut the piece out with a Nestie's die.

I wrapped gold cord around the purple card stock, added some metal photo corners and finis! Easy-peasy and ready to serve in just ... 30 minutes!

Just a reminder: today is the last day you can vote in the Y.ou K.now Y.ou R.ock "Heavy Metal" challenge. Head on over and vote, it'll only take a sec, and show some stampers some stampin' love, okeedokee?!?

Quick, TRUE story to share with you:

Some of you know that the DH is a computer tech and if you didn't ... well, you do now! Anyway, last night he took a call from a customer:

"... OK, press the control and escape keys at the same time. That brings up a task list in the middle of the screen. Now type the letter 'P' to bring up the Program Manager."

Customer: "I don't have a 'P'."

"On your keyboard," the DH said.

Customer: "What do you mean ?"

The DH: "'P' on your keyboard."

Customer: "What! I'm not gonna do that!"

Seriously.

~Hugs,

  • Card Stock: Bazzill Basics; DCWV
  • Stamps: Stampin' Up!
  • Ink: Versamark Watermark
  • Accessories: Queens Gold Embossing Powder; Metal Photo Corners; Gold Cord
  • Tools: Die-Cut Machine; Stamp-A-Ma-Jig; Die; Scrap Fusion PA; The Ultimate

Friday, September 12, 2008

I Gotta Stop Wearin' Shades Whilst Card-Making ...

Pin It


See why? Just a teeny bit bright, huh?!?

Hey, guess what?!?! The DH brought me home the cutest l'il puppy! It's a hybrid mixed breed: a Spitz + a Chow Chow. So, technically, Puddles is a Spitz-Chow ... which 'splains why he's throwin' up after every meal.

ONward Hoarding-Card-Makers:

Okay, is it just me or are all the new Cuttlebug embossing folders messed up? I've got four new ones; of the four, two were manufactured bass-ackwards ... or upside down and inside out ... something. But not right; I hope all of your folders work properly!

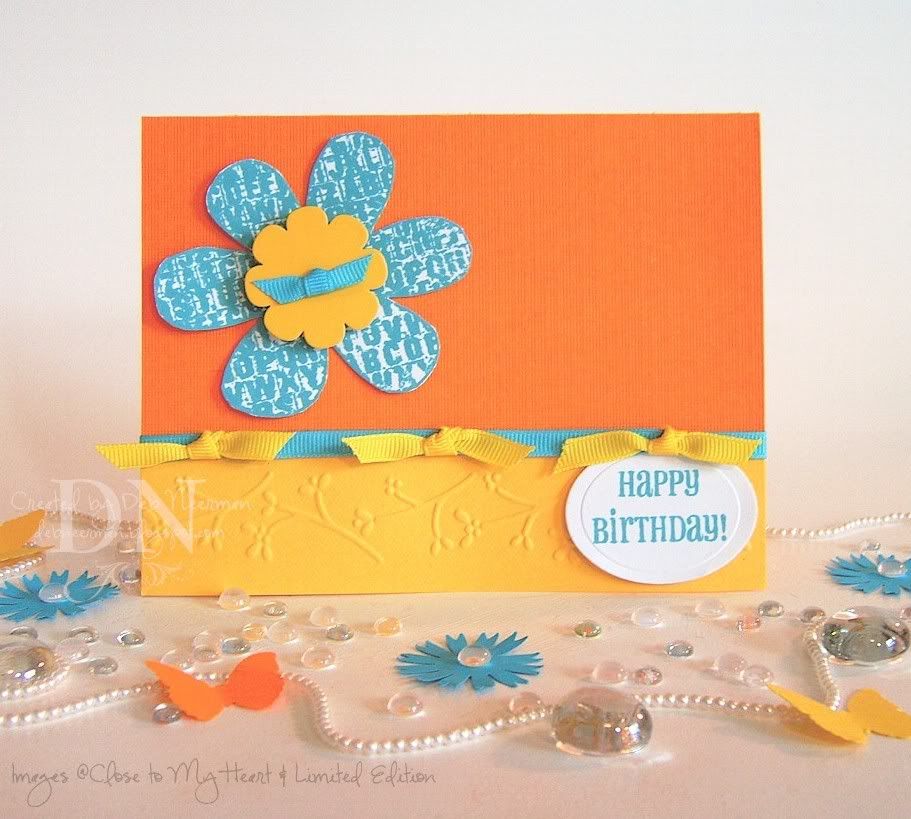
Today's card project was created bass-ackwards for my cousin's birthday and she just lurves bright colors ... being a Floridian and all.

I ran the yellow card stock base through the 'Bug using one of the "Just My Type" folders. Yup, it debossed the front instead of embossing ... so, I flipped it around and ran it through again. Looks kinda kewl with the embossed edge on both the outside and the inside of the card.

I layered on some pumpkin card stock and stamped my flower image using "Broken China" Distress ink. I cut it out and added to my card base using a glue dot, leaving the petals free for dimension. I tied a turquoise ribbon through a metal flower that my BFF sent me, then adhered it to the stamped flower using a 1/4" dimensional.

I added a ribbon at the card stock seam and tied on three yellow ribbons for bows. My sentiment, from Close to My Heart, was stamped in the same ink and cut out in the 'Bug, then glued down with a glue dot just under the ribbon.

Hope you're not lookin' here today, Kath ... 'cuz this isn't just your birthday card, it's your gift, too!

So, I've been thinkin' ... why is it that all the instruments seeking intelligent life in the universe are pointed away from Earth?

~Wondering,

  • Card Stock: Papertrey Ink; Bazzill Basics
  • Stamps: "Alpha Flower" by Limited Edition; Sentiment by Close to My Heart
  • Ink: "Broken China" Distress Ink by Ranger Industries
  • Accessories: Metal Flower, the Bestest BFF in the Whole, Wide World; Grosgrain Ribbon
  • Tools: Cut Machine; Cuttlebug "Just My Type" Embossing Folders; Nestabilites Die by Spellbinder's; Dimensionals; Glue Dots; Scrap Fusion PA

Thursday, September 11, 2008

Autumn Leaves ... and the Blog Candy Winner!

Pin It


I'm ahh-live! But you already knew that, didn'tcha?!? Thanks so much for all your comforting words, and your prayers ... and most of all, those hurricane jokes! Now I need you to pray for all those in harm's way in coastal Texas and Louisiana.

ONward Hoarding-Card-Makers:

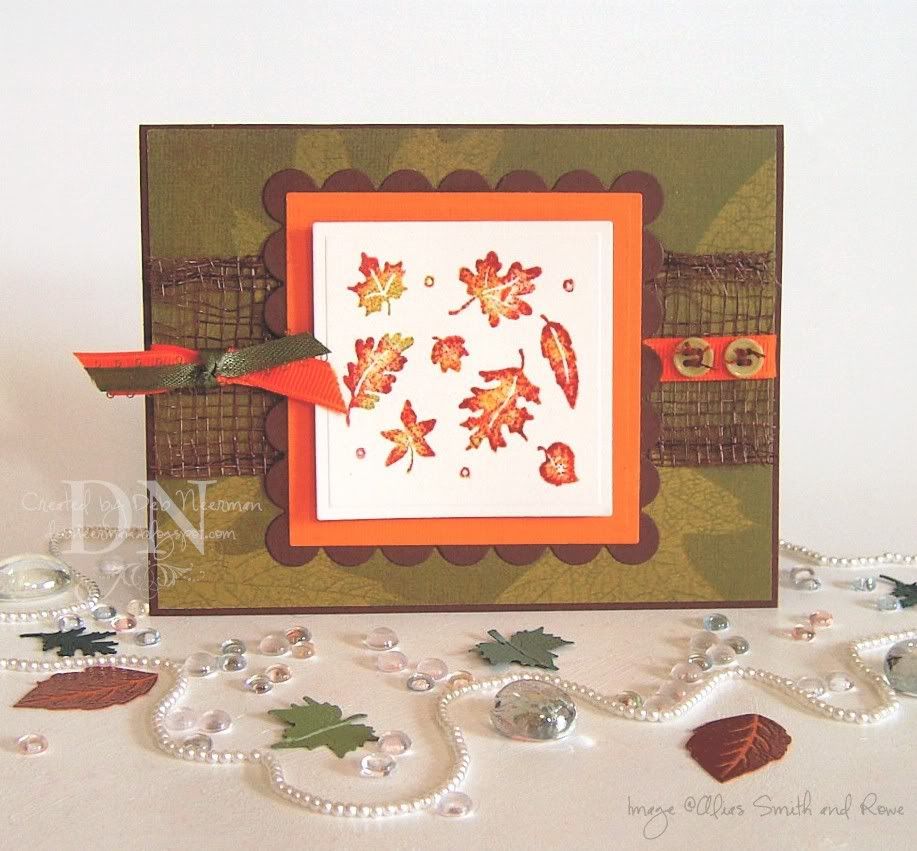
Today's card project was created for no good reason using my new (old) favorite stamp and some vintage patterned paper from Scenic Route.

I loaded my fallin' leaves stamp with Versamark ink, then tapped on three inks from Close to My Heart: "Sunflower," "Garden Green," and "Hollyhock." I covered my stamped image with clear embossing powder and heat set.

I adhered this kewl old DP to my card stock, added some ribbons, and two threaded buttons.

I double matted my focal image and finis! Easy-peasy and ready to serve in say ... oh, let's say ... 30 minutes!

Okay, so before the DH knew what hit him, I got in to his face and asked him for a number between 1 and 47. His answer? Number 25. Comment number 25 reads, "Hope things are calm there and that you do not get the worse of it," left by Char-the mad shopper. So congrats, Char, email me your snail mail addy, and I'll get your new stamps out to you ASAP. Thanks everyone for entering!

So the other day, as the DH and I we were shuttering up the Old Homestead, my neighbor came over and told me, "I just bought a new hearing aid. It cost me four thousand dollars, but it's state of the art."

"WoWza," I answered. "What kind is it?"

"Twelve thirty."

Despite all the jokin' around, I'm truly saddened to recall the memories of exactly seven years today. We will never forget; please don't let your children!

~Hugs,

  • Card Stock: Papertrey Ink
  • Patterned Paper: Scenic Route
  • Stamp: Alias Smith and Rowe
  • Ink: Versamark; Close to My Heart
  • Accessories: Sinamay, Grosgrain, and Satin Ribbons; Old Buttons; Embroidery Floss
  • Tools: Die-Cut Machine; Nestabilities Dies; Clear Embossing Powder; Heat Gun; Dimensionals; Mini-Gun Dots

Wednesday, September 3, 2008

And It's a Cereal Too ...

Pin It


Today's card project was created using stamps and designer papers from Close to My Heart ... and some vintage ephemera from my vast collection. Well, it's more like half-vast ...

I kill me ...

ONward Hoarding-Card-Makers!

I stamped the distressed fishes on a scallop border cut from a page in a book published in 1894, then embossed with Distress embossing powder.

The sentiment was stamped on Vintage Cream card stock with "Timber Brown" Staz-On, cut out with a Nestie and mounted with dimensionals on the brown card stock.

I looped natural jute around the card, and adhered it to my card using silver prong studs. I tied more jute around the rows, frayed the ends, and finis!

Okay, I made a startling math discovery today. Frankly, it was pretty startling to find myself even thinking about math, but ... Okay, here it is:


  1. "Squirrels" x "Hoard" = Nuts (a x b = c)
  2. "Stampers" x "Hoard" = Nuts (a x b = c)
Now I remember next to nothing about math but I DO remember being taught that math is a science, an exact science. Uh oh, the DH can't be right:

  1. Me: "OMiGosh, I love that new BasicGrey collection; I simply HAVE to have it!!"
  2. DH: "You're gonna buy MORE paper? You don't even use the paper you already have!"
  3. Me: "But this is different paper; I don't have any of this paper!"
  4. DH: "Okay. Tell me what you're goin' to do with THIS particular paper?
  5. Me: "Umm, well, I'm not sure right now but I'll definitely use it. A lot!"
  6. DH: "No, you won't, you'll hoard it."
  7. Me: "Ummm ... "
  8. DH: "You're nuts."

Well, we may be nuts, but we're cute, right?!?

Thanks so much for spending part of your busy day with me; you rock!!

~Hugs,

  • Card Stock: Papertrey Ink
  • Designer Paper: "Perfect Day" by Close to My Heart
  • Stamps: "Relax" Collection by Close to My Heart
  • Ink: Distress Embossing Ink; "Timber Brown" Staz-On; Fluid Chalk Ink
  • Accessories: Silver Brads; Natural Jute; Silver Prong Studs; Distress Embossing Powder
  • Tools: Die-Cut Machine; Nestabilities Dies; Slit Punch; Threading Water Punch; Scrap Fusion PA; Dimensionals
  • Other: Vintage Ephemera

Tuesday, August 26, 2008

Take Time to Enjoy Your Day, 'Cuz No One Can Do it for You ...

Pin It


Hey, today is National Cherry Popsicle Day ... wanna know how cool this is ?!? Frozen!

I kill me ...

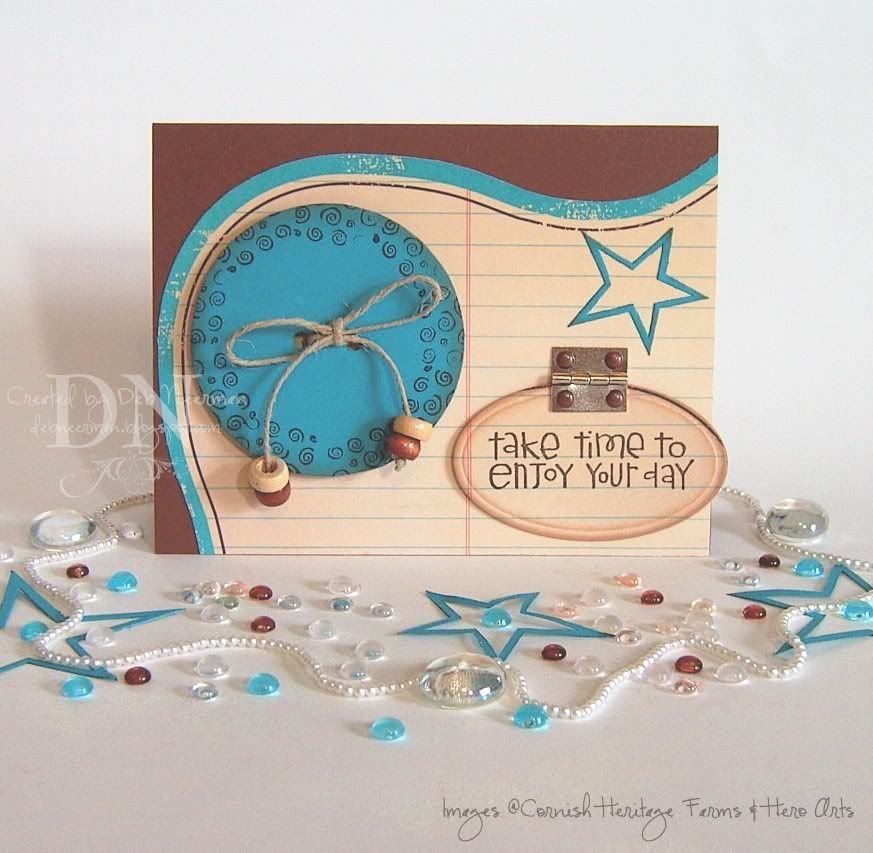
Hey, paper hoarders, today's card project was created just for the heck of it using DP from Making Memories, and a large chipboard button.

I covered the aforesaid large chipboard button with turquoise card stock, stamped a swirly border, tied on some natural jute twine embellished with wooden beads, and adhered the whole shebang to my card base.

I stamped my sentiment on a scrap of DP, cut it out using a small oval die, sponged on fluid chalk ink, then mounted it to the card base using a metal hinge. For fun, you can stamp a secret message or fun image under there ... or add a sticker, a charm, or whatever! I'd show you what I put under there, but it's a secret ...

Finally, I die cut a turquoise star using a Cuttlebug die, and finis!

Thanks so much for swingin' by! And be sure to recycle your cherry Popsicle stick for a future project. Then go stick out your tongue in front of a mirror ... kewl!

~Hugs,

  • Card Stock: Cut Card Stock; DCWV
  • Designer Paper: Making Memories
  • Stamps: Sentiment by Cornish Heritage Farms; Swirls by Hero Arts
  • Ink: Staz-On by Tsukineko; Colorbox by Clearsnap
  • Accessories: Chipboard Button; Natural Jute Twine; Wooden Beads; Metal Hinge; Brads
  • Tools: Die Cut Machine; Cuttlebug Star Die; Black Dimensionals; Scrap Fusion PA

Saturday, August 23, 2008

Fly Away, L'il Swallow or Bird of Paradise: That's an Ostrich Egg!

Pin It


Just kiddin' ... and allow me to be the first to wish you a v-e-r-y happy Cartoon Day! Lemme know what cartoon's ya'll are watching, okeedokee? I'm lookin' to widen my horizons ...

Hey, did you know that today is also "National Sponge Cake Day?" Seriously. I don't make this stuff up. In honor of the day, I'll be heading out to PublixWhereShoppingIsAPleasure for some fresh-baked sponge cake. Even if you don't enjoy this yummy treat for dessert, it's lots o'fun to play with. Just don't use it to clean your counters ... I learned that the hard way!

ONward, Hoarding Card Makers! Today's card was created using DP from BasicGrey's "Periphery" collection, a couple of my favorite old stamps, and some grosgrain ribbon. Easy-peasy-sponge-cake-squeezy!

I stamped the mesh image on Vintage Cream card stock using "Peeled Paint" Distress ink, and stamped the egg images (they're doubled-up for dimension), using "Faded Jeans" Distress ink.

I layered some patterned paper, tied on some ribbons, punched out some photo corners, added a frame hanger, and ... finis!

Thanks so much for stopping by; enjoy your weekend ... and your sponge cake!

~Hugs,


  • Card Stock: Papertrey Ink
  • Designer Paper: "Periphery" Collection, BasicGrey
  • Stamps: "Mesh" by Stampers Anonymous; "Egg" by Oxford Impressions
  • Ink: Distress Inks by Ranger; Colorbox Fluid Ink by Clearsnap
  • Accessories: Gold Frame Hanger; Brad; Grosgrain Ribbon;
  • Tools: Die Cut Machine; Nestabilities Dies; Brad; Scrap Fusion PA by Ivy Scraps; Dimensional Foamies by Scotch; Photo Corner Punch by Stampin' Up!

Wednesday, August 20, 2008

Don't Forget to Wipe Your Feet ... A "Tag, You're It" Challenge Entry

Pin It


Happy National Radio Day, boys and girls!

My photos are not the best and I apologize. My excuse is the crummy weather we here in So Florida are currently 'enjoying.' Between tornado, flood, tropical storm, monsoon, and hurricane warnings, it's either the lack of natural light or the lack of electricity that's to blame for my yucky photographs. Sorry 'bout that, kids!

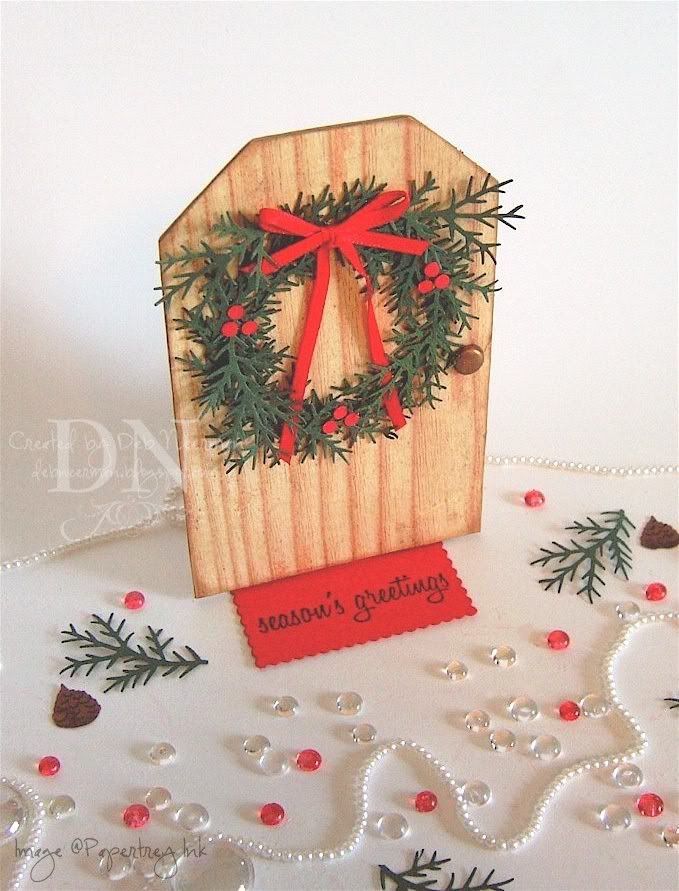
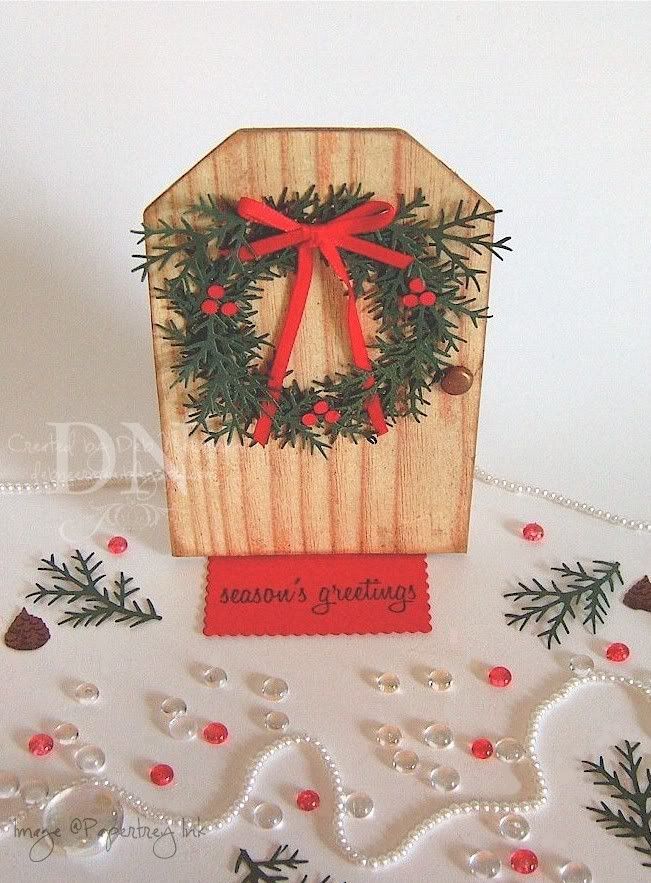
Today's project was created for Anne and Sam's "Tag, You're It" blog challenge. This week's theme is Christmas ... I know you didn't see that comin'!

I covered my chipboard tag with DP from Cosmo Cricket's "Wanted" collection, then sponged the edges with fluid chalk ink. Next, I created a wreath using card stock and a pine bough paper punch. I added some ribbon and some "holly berries" to the wreath, and used a copper brad to create my "door knob."

I stamped my sentiment on red card stock and cut it out using a scallop-edge rectangular die. I created a hinge from matching card stock to attach my "door mat" to my "door."


Easy-peasy and ready to serve in just ..... ohhhhh, let's say, 30 minutes!

One quick, cute, topical joke to share:

At the Olympic Games, a girl bumps into a man carrying an eight-foot-long metal stick.
"Excuse me," says the girl to the man, "Are you a pole vaulter?"
"No," says the man, "I'm German, but how did you know my name is Walter?"

Hey, thanks for dropping by today!

~Hugs,

  • Card Stock: DCWV; Bazzill
  • Chipboard Tag
  • Designer Paper: Cosmo Cricket, "Wanted" Collection
  • Stamp: Papertrey Ink
  • Ink: Brilliance by Tsukineko; Colorbox Fluid Chalk
  • Accessories: Antique Copper Brad; 1/8" Satin Ribbon
  • Tools: Die-Cut Machine; Nestabilities Die; Pine Bough Punch; Mini-Hole Punch; "The Ultimate" Glue; Mini-Glue Dots

Tuesday, August 19, 2008

Life Delights in Life; I Delight in Chocolate ...

Pin It


Today's card project was created using beeee-you-tea-full card stock from Stampin' Up! that Mel-a-Licious sent me ... ummm, and the hardware too! Isn't Mel delicious!?!

I stamped my images on Vintage Cream card stock with dark brown fluid chalk ink, then heat embossed with clear powder. The focal image was die cut and matted on a scallop edge mat. I used the uber-kewl "Threading Water" border punch to create a l'il mat for my chocolate brown ribbon, then tied on a silver heart charm. My CTMH sentiment, available
HERE, was framed in Stampin' Up hardware.

And that's it! Can you believe that I managed to create a post in less than five paragraphs?!? That's becuz today is "Potato Day" and I'm doin' some very intricate potato-stampin' ... tuber continued!

~Hugs,


  • Card Stock: Bazzill Basic; Papertrey Ink; Stampin' Up!
  • Patterned Paper: Stampin' Up!
  • Stamps: PSX; Close to My Heart
  • Ink: Colorbox Fluid Chalk Ink; Versamark
  • Other: Clear Embossing Powder
  • Accessories: Metal Frame Holder; Brads; Jump Rings; Heart Charm; Grosgrain Ribbon
  • Tools: Die-Cut Machine; Nestabilities Dies; Heat Gun; Border Punch by Fiskars]

PS: Due to the current weather conditions here in So Florida, I will likely lose power ... and my Internet connection. The only real question is when and for how long!

I have several blog posts pre-scheduled for this week, but if you email me with a question, or leave me a comment and don't hear back from me, that will be the reason why. I'll respond to all comments and questions just as soon as possible. Thanks!

Monday, August 18, 2008

Geometric's: Without 'Em, Life's Pointless ...

Pin It


Hey, for those of you who are keepin' track, and even if you're not, today is "Bad Poetry Day." I'll bet you're a poet and just don't know it ...

Today's card project was created for no good reason. I had considered entering it in the Stamping Challenges to Love blog challenge, but decided against it and entered something else. But you can always use a thank you card, so sooner or later a good reason will appear. It's the law of card-making.

Anyway, this card is super-easy-peasy to CASE.

Using dies from the Large Classic Circle die set, I cut out two circles, cut them in half, then used one of the leftover circles as a base for my paper flowers. The flowers are adhered to the inside lower right-hand corner of the card, so I cut out a circle on the front lower right corner. Which explains why the card isn't standing ... although I do like to lay 'em down every now and then just to mix things up ... such a wild 'n crazy gal, huh?!?

I stamped my images on Stamper's Select card stock, cut them into circles, sponged 'em with fluid chalk ink, then adhered them to the front of the card with the pale blue half circles.

Finally, I sprinkled some extra-fine glitter over the paper flowers, and finis! Easy-peasy and read to serve in just 15 Minutes!

ONward: I received this award from someone recently and I'm embarrassed to say I forgot who. So thank you so much _______; I love your blog, too! Now, I'm gonna pass it on to five of my favorite bloggers (that part, I remember):


  1. Allison, from Stampin' When I Can;
  2. Annapurna, from Inspired by Nature/HomeMade Greetings;
  3. Julia, from Create With Me;
  4. Julie, from Out to Impress; and,
  5. Mel, from Mel Stampz

Here ya go, Chicklettes!

Okay, I'm off to do some research: I need to know where they get the seeds to grow seedless grapes. Hey, do you know?

~Huglettes,

  • Card Stock: Bazzill Basics; Papertrey Ink
  • Stamps: "Lexicon of Love" by Stampin' Up!
  • Ink: Staz-On; Colorbox by Clearsnap
  • Accessories: Felt Flowers by American Crafts; Paper Flowers by Prima; Brad, American Crafts; Ultra-Fine Glitter
  • Tools: Die Cut Machine; Nestabilties Dies; Scrap Fusion PA

Tuesday, August 12, 2008

Yum! Green Birthday Cake!!

Pin It


Hey, green cake is better than no cake, right?!?

So, the "Miss Universe" pageant was this past weekend and I swear it's fixed ... the winner is always from Earth!

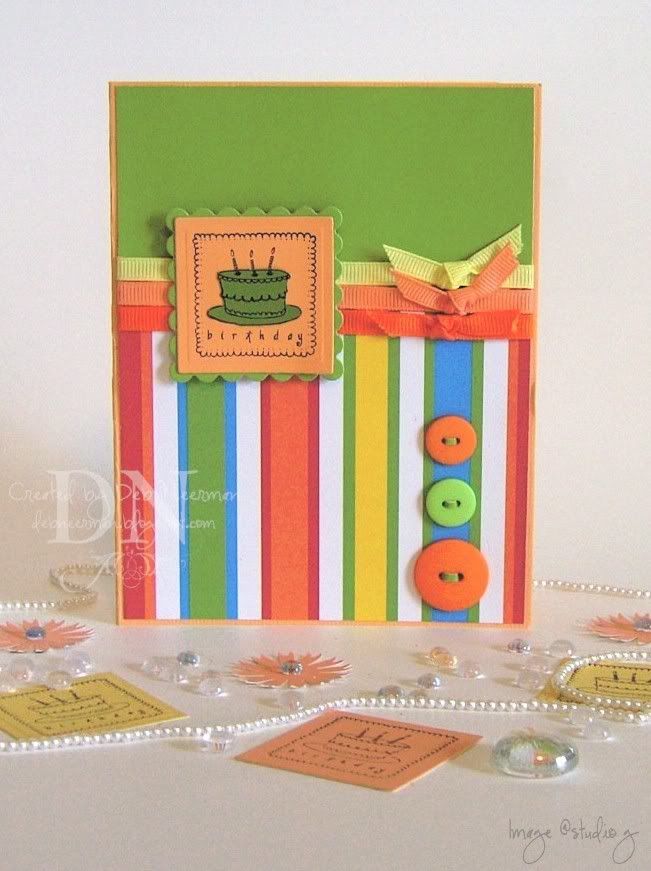
Today's bright and summery-ish card project was created using scraps of designer paper, scraps of grosgrain ribbon, and scraps of paint sample cards. Wait. Is this a scrapbook L-O or a card? Yup, it's a card, I just checked.

TIP #1: When shopping in Lowe's or The Home Depot, go to the paint department and snag yourself some paint sample cards. You can use these in all of your stamping, card making, and paper crafting projects. The price is right (free), the colors are amazing, and they come in lots of different textures and finishes!

I stamped, then heat set, my image on two paint sample cards, then pieced them back together and mounted the pieced image on a scallop edge mat. I wrapped grosgrain ribbons around my DP, tied on a matching scraps to create bows, added three buttons, and finis!

TIP#2: Want to have button thread that always matches your project? Well, duh, of course ya do! Using a paper cutter (I use a guillotine cutter for this) cut off super skinny strips from your DP. Then, thread the paper strip though your button holes, and glue in place. Looks like thread, doesn't it?!? It'll be our li'l secret ...

Until tomorrow, I leave you to think on this: when you put "THE" and "IRS" together, it spells "THEIRS" ...

~Hugs,


Card Stock: Bazzill
Designer Paper: Unknown
Stamp: studio g
Ink: Brilliance "Graphite Black" by Tsukineko
Accessories: Grosgrain Ribbon, Paint Sample Cards, Buttons
Tools: Die-Cut Machine, Square / Scallop Dies by Spellbinder's, Scrap Fusion PA, The Ultimate Glue, Black Dimensionals

Saturday, August 9, 2008

Out of the Box ... Literally

Pin It


Yay, it's Cartoon Day again!!

And I've got some happy news to share with you: my neighbor, the man who fell into an upholstery machine, is now fully recovered!

So, today's card project was created for the Stampin' Links to Love girls very first blog challenge. And their very first theme is, "Outside the Box" ... I'll bet my post title gave it away, huh?!? For all the deets on the challenge click HERE.

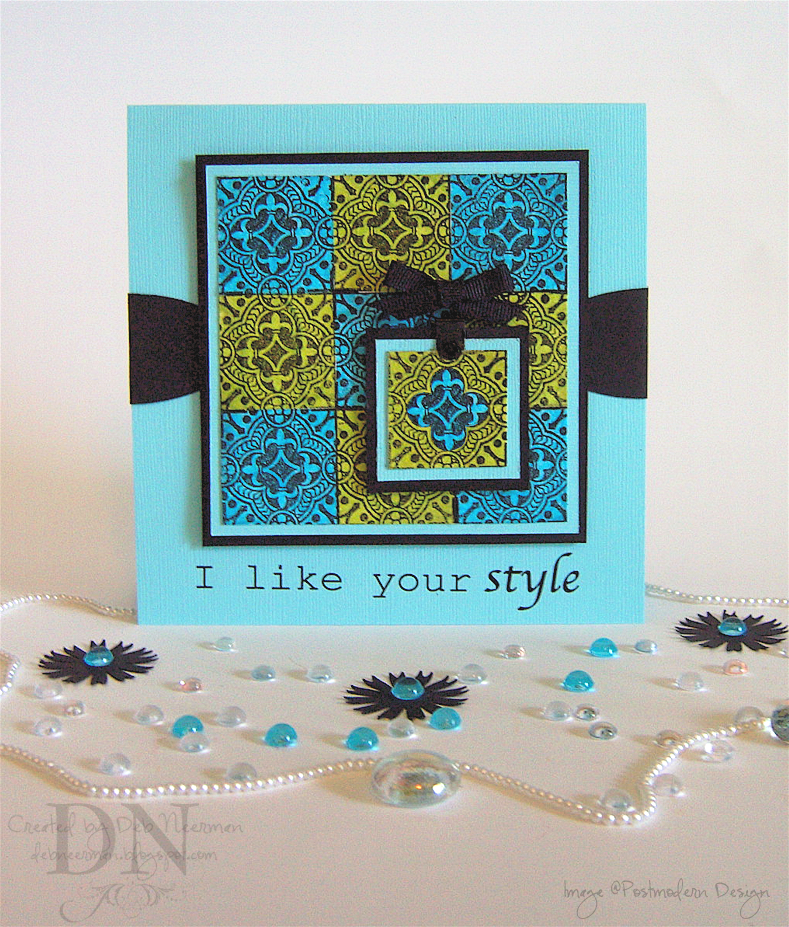
I stamped my repeating border image on turquoise and lime mulberry paper using black Brilliance ink. TIP: Since mulberry paper is tissue thin, mount it, and other thin speciality papers, on white card stock before stamping.

I heat set my ink, cut the border apart, then put it back together as shown. I double matted both stamped images on Bazzill card stock, attached a black frame hanger with a brad, and tied on a black ribbon. Both completed mats were mounted to my card base using black dimensionals.

Using a die from the Petite Oval Nestabilities set, I cut two ovals out of black card stock and adhered them to either sides of my card ... kinda looks like ribbon, doesn't it? Finally, I used a rub-on for my sentiment, and finis!

Thanks so much for sharing part of your Cartoon Day with me; you guys rock! Oh, and speaking of rockin', please head over to Y.OU K.NOW Y.OU R.OCK and show some love to our players by voting for your favorite rockin' card.

Until tomorrow, I leave you with this: relish today ... ketchup tomorrow.

~Hugs,


Paper: Bazzill Card Stock; Mulberry Paper
Stamp: Postmodern Design
Ink: Brilliance "Graphite Black" by Tsukineko
Tools: Craft Knife; Spellbinder's Die; Cuttlebug; Scrap Fusion, Ivy Scraps, Black Dimensionals
Accessories: Frame Hanger; Grosgrain Ribbon; Black Brad; Rub-On by Provo Craft

Friday, August 8, 2008

Stare at This Until You See the Magic 3-D Picture ...

Pin It


So today, while going through some neat vintage Tarot cards, I wondered: if a short fortune-teller escaped from prison, would he then be considered a small medium at large?

I kill me ...

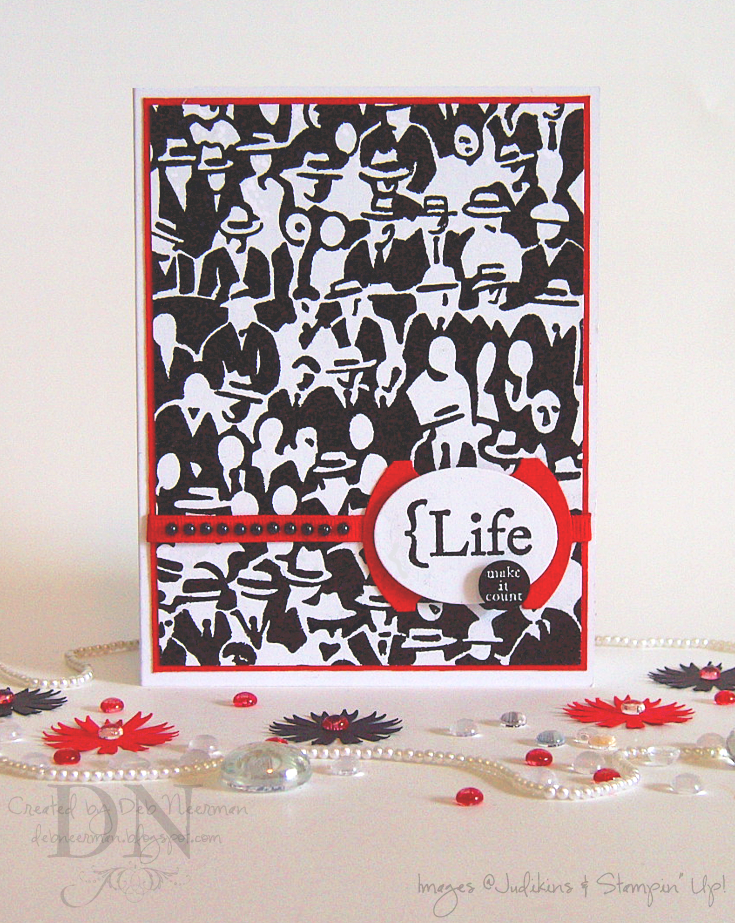
Today's card project was created for Allison's "Suggestive Sunday" blog challenge. This week, Allison asked us to create an abstract paper project inspired by the Framed Art department at Target. So, after viewing 18 pages of Abstract art on Target.com (who knew?!?), I chose to use this w-a-y kewl, and w-a-y big, JudiKins rubber stamp.

I stamped my image on white card stock with Versamark, embossed with Midnight Black embossing powder, and matted with red speciality paper. Yup, every bit of black you see on this card is heat embossed. I stamped my sentiments, from Stampin' Up!, (thanks, Mel!), in the same manner, and mounted them on a unfolded round file tab punchie.

TIP: Oftentimes when heat embossing, for one reason or another, you'll find a 'bare' spot. Rather than pitch the whole project, do this: wait for the embossed card stock to cool, then go over your bare areas with a matching marker or paint pen. On this humongous embossing project, I touched up the bare spots with a Copic marker (#100).

Finally, I adhered my sentiments using black dimensionals, added a ribbon, and some black faux pearls, and finis!

Now, click on the image for a ginormous photo and keep staring at it until you see the magic 3-D image. Then, if you would, please leave me a comment letting me know what you saw in there, okeedokee?!? 'Cuz we're having some differing opinions here ... thanks!

Don't forget to Rock the Vote at Y.ou K.now Y.ou R.ock's "Rock the Cover" contest!

Until tomorrow, I leave you with the immortal words of Venus de Milo who said, "I guess huggin' is out."

~Cheers,


Card Stock: "Stamper's Select - White" by Papertrey Ink; Stamp: by JudiKins; Ink: "Versamark" by Tsukineko; Embossing Powder: "Midnight Black" by Stampendous; Copic "Ciao" Marker #100; Grosgrain Ribbon: Unknown, Obtained in a Ribbon Share; Faux Pearls: by Mark Richards; Adhesive: "Scrap Fusion PA" by Ivy Scraps, Black Dimensionals; Tools: Cuttlebug Die-Cut Machine; Die: "Large Classic Oval" Nestabilities Set by Spellbinder's; Punches: "Round File Tab" Punch by Stampin' Up!, 1.5" Circle Punch by Punch Bunch


Wednesday, August 6, 2008

Tag, You're It ... Now in Teal, Lime, and Black

Pin It


Happy Wednesday, boys and girls! Today, while measuring card stock, it suddenly occurred to me that without geometry, life is pointless.

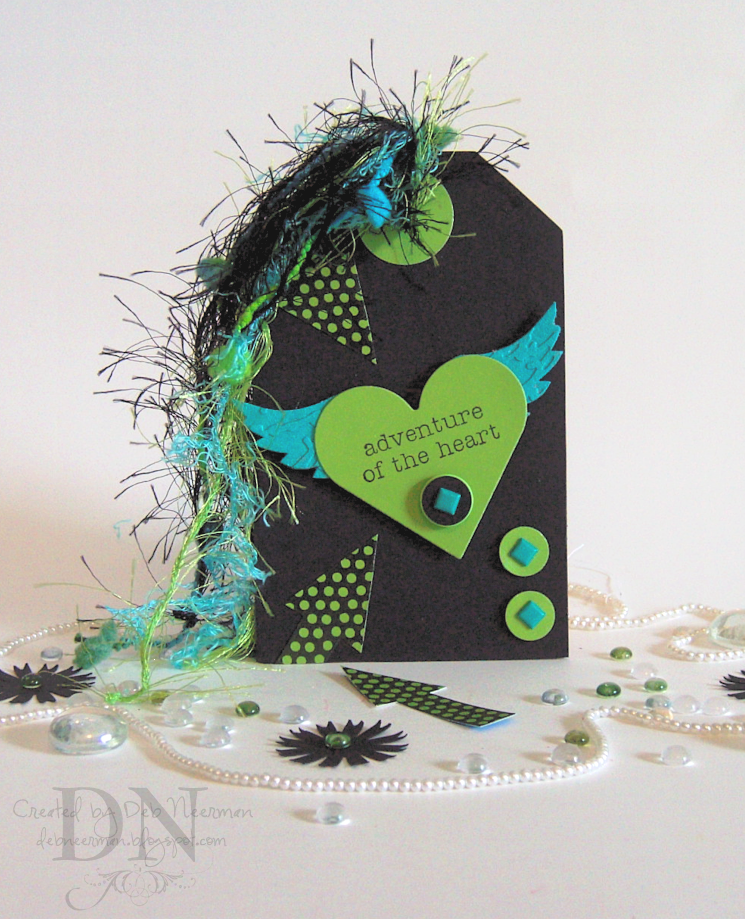
Okeedokee then. Today's tag project was created for this week's "Tag, You're It" blog challenge. This week, the amazin' Tag Ladies ... not to be confused with the amazin' Bag Ladies ... required players to create a tag using just three colors: teal, black, and lime green. I guess you saw that comin', huh?

I ran a set of Grungeboard wings through the Cuttlebug in the Script embossing folder, then painted the wings with Golden Fluid acrylic paint. I mounted the wings to my tag using black pop-up dimensionals.

TIP: Invest in some black dimensionals; they're perfect for using on dark backgrounds, such as my tag, but they also eliminate the unsightly view of those bright white dimensionals you're currently using. The black ones practically 'disappear' ... and I've discovered that yes, people do look under there! I KNOW, crazy, huh?!?

Next, I stamped my sentiment, (Tuscan Rose ... I think), on lime green card stock then cut out a heart using a die from the Nestabilities Classic Heart collection. Using more dimensionals, I mounted the heart die-cut to the wings.

Using this very kewl stamp from FontWerks, which I dearly {heart}, I stamped two arrows, cut them out and glued them to my tag, trimming off the excess flush with the tag.

Finally, I punched out three 1/2" circles and fitted them with teal brads; the black one was mounted on a lime green button. I added some funky fibers and finis! Quick and dirty easy!

On a different note, voting has begun in the Y.ou K.now Y.ou R.ock "Rock the Cover" challenge! Head on over to the Y.K.Y.R. blog to vote for your favorite card ... and wait till you see these entries ... they ALL totally rock! And remember, it's one vote per person so every vote counts! Yup, yours too!

Thanks for spending part of your busy day with me ... now go Rock the Y.K.Y.R. Vote!

~Hugs,


Chipboard Tag: Oriental Trading Company; Card Stock: DCWV, Other: Unknown; Unmounted Sentiment Stamp: Tuscan Rose ... I think; Polka Dot Arrow Stamp: FontWerks; Ink: "Black Soot" Distress Ink by Ranger Industries; Paint: "Cobalt Teal" Fluid Acrylic by Golden; Grungeboard: "Mini's" by Tim Holtz for Ranger Industries; Embossing Folder: Cuttlebug "Script" by Provo Craft; Tools: Double Circle Punch by EK Success, 1/2" Circle Punch by Stampin' Up!; Heart Die: "Classic Heart" Nestabilities by Spellbinder's; Accessories: Button by Doodlebug; Brads: Unknown, Found in Mt. Brad; Funky Fibers: Various Eyelash and Confetti Yarns; Adhesive: Scrap Fusion PA by Ivy Scraps; Black Dimensionals: Unknown, Obtained in a Sticky Share; If Anyone is Still Readin' This: Wow, How Patient Are You?!?

Monday, July 21, 2008

Hey Tweetie ...

Pin It


Happy Monday, boys and girls!

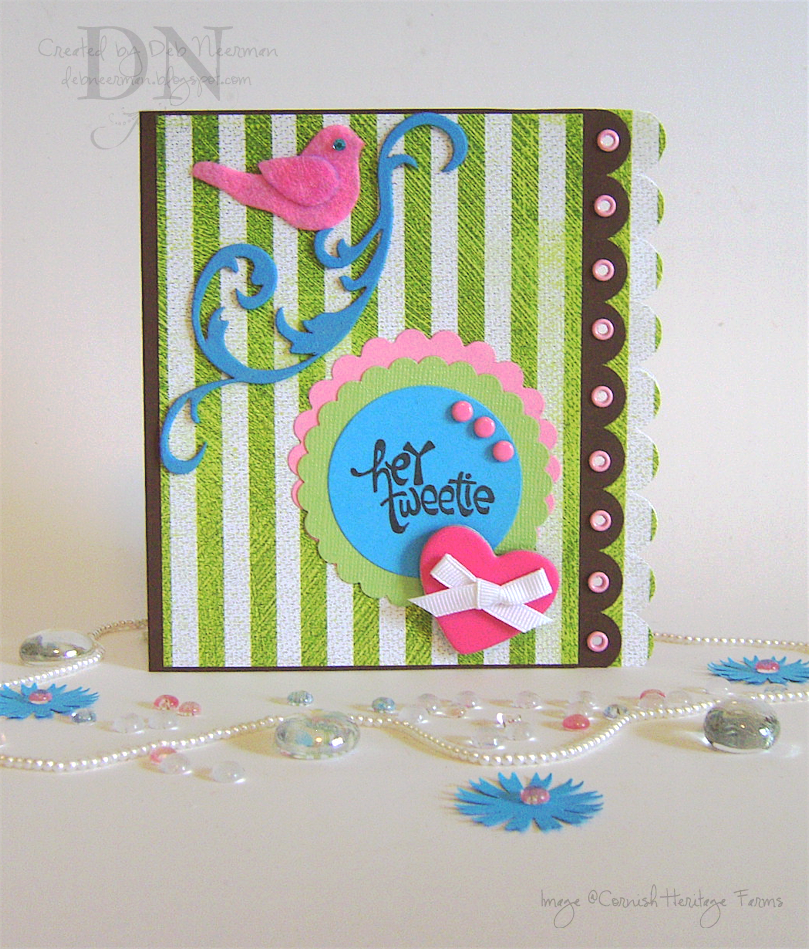
Today's card project was created using designer paper from Daisy D's, a Grungeboard flourish, a felt bird, and a chipboard heart.

This is one of those projects that started out to be one thing and totally turned out to be something else! Don't ask, it's a long story ...

I added some DP from Daisy D's "Girlfriends" collection to my card stock base, added some embellies, applied two scalloped edges (created with my slit punch), and attached nine pink eyelets using a Crop-a-Dile.

I applied some Colorbox Brush Pigment ink to the grungeboard ... I'm not sure how I feel about this product yet. While it did take the ink beautifully, I'm not sure it's something you have to have. Chipboard would be a good substitute I guess. But since I have three packages of this stuff, I better start using, and hopefully, liking this product.

My sentiment, from Cornish Heritage Farms, was stamped using "Timber Brown" Staz-On solvent ink. I added some brads, a bit of ribbon, and a tiny felt bird, and finis!

Thanks so much for spending part of your busy day with me; you rock!

~Hugs,


Card Stock: Bazzill and DCWV; Designer Paper by Daisy D's; Stamp: "Pretty Bird" Cornish Heritage Farms; Inks: Colorbox Pigment Brush Ink by Clearsnap, Staz-On by Tsukineko; Grungeboard: Tim Holtz Ideology; Felt Bird by Maya Road; Brads and Eyelets: Unknown; Grosgrain Ribbon: Unknown; Tiny Gemstone by Hero Arts; Adhesive: ATG 714, The Ultimate by Api, and Scrap Fusion by Ivy Fusion; Tools: Crop-a-Dile by We Are Memory Keepers; Slit Punch: Stampin' Up!; Dies: Nestabilities by Spellbinder's; Die-Cut Machine: Provo Craft

Saturday, July 19, 2008

Little Blessings Make Life a Joy ...

Pin It


Today's card project was created for no good reason except that I wanted to color it use this stamp! And speaking of this stamp, does anyone know who manufactured it? I've had it for-evuh and it's unmounted so I haven't a clue.

These designer papers were hangin' out on my worktable from a recent project and, since they had to be stowed away in my paper cupboard, I decided I'd rather use 'em than put them away. Talk about lazy craftin', huh?!? But if you ever saw my paper cupboard, you'd know exactly how much of a chore it is putting paper back in an organized fashion. And when I say "organized" I mean filing them by manufacturer and then by color. Just a little OCD'ish, huh?

I stamped my image on Xerox 110# card stock, then colored it in using Copic markers. Using a cloud template and Sky Blue fluid chalk ink, I added clouds behind the flyin' angel. You have to click on the image to see the clouds ... and even then they're hard to discern.

I cut out my stamped image with a die from Nesties Large Classic Ovals and matted it on lavender card stock using dimensionals.

Finally, I added a lavender binder clip, some 1/4" wide grosgrain ribbon, four brads, four photo corners and, finis!!

Thanks so much for sharing part of your day with me ... and have a great weekend: you deserve it!

~Hugs,


Card Stock: Bazzill, Xerox 110#; Designer Papers: Making Memories and Deja Views; Stamp: Unknown; Inks: "Black Soot" Distress Ink by Ranger, Colorbox "Sky Blue" Fluid Chalk Ink by Clearsnap; Color Medium: Copic Markers; Brads: Unknown, Found in Mt. Brad; Binder Clip: Unknown, Found in Mt. Binder Clip; Photo Corner Punch: Stampin' Up!; Die-Cut Machine: Provo Craft; Oval Dies: Nestabilities by Spellbinder's; Grosgrain Ribbon: Unknown, Obtained in a Ribbon Share; Dimensionals: Unknown, Obtained in a Sticky Share; Adhesive: Scotch ATG 714

Friday, July 18, 2008

White-Out ... A Blog Challenge Entry

Pin It


Happy Friday, boys and girls!

Today's card project was created for Allison's "Suggestive Sunday" blog challenge. This week, Allison's challenge required the use of white ink somewhere, anywhere, on your project. On, no, not white ink!?!?

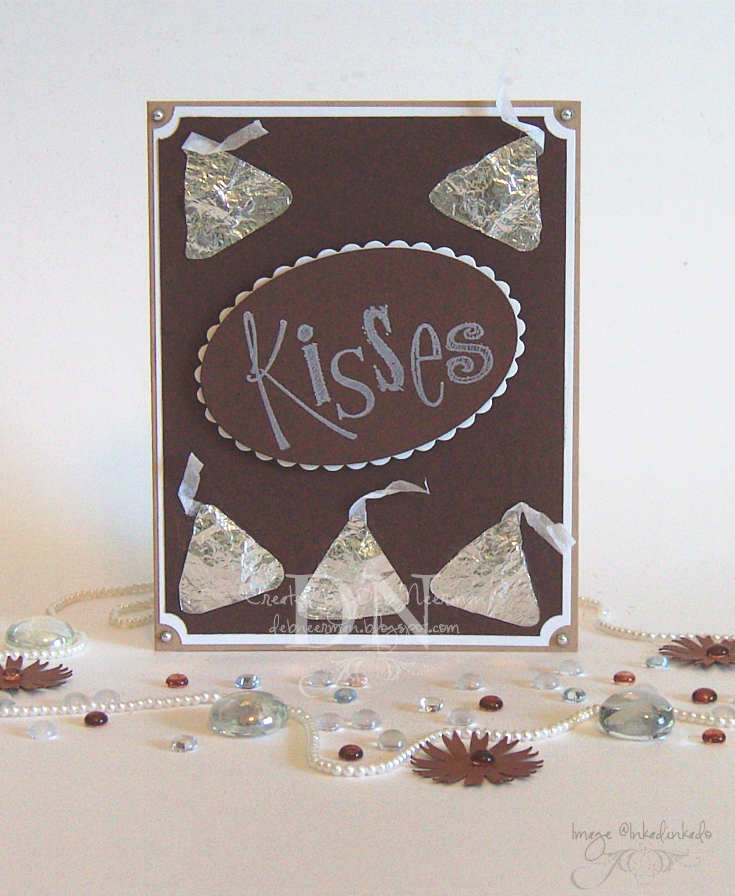
In the meantime, though, my BFF sent me a wonderful packie full of all kinds of kewl toys, including this neat Inkadinkado stamp. The second I laid eyes on it, I thought of Hershey Kisses. Nope, I never, not even for a second, thought about kissing, being kissed, or blowing kisses ... not me, I thought of chocolate!

I created my "kisses" by creating a template, then tracing it on aluminum foil. I cut them out, and stuffed them with a bit of cotton ball fluff to give 'em a little dimension. I cut and twisted some tiny strips of white tissue paper to create the pulls.

Using a stamp positioner, I stamped my sentiment on dark brown card stock. Would you believe it took three stampings to get the white ink to show up bright enough to use?!? Oh. Yes, I guess you would ...

I mounted the sentiment using dimensionals and mats cut with Nesties, and used ticket-corner-punched chocolate, I mean brown, and white card stock for the background.

Finally, I embellished the corners with some really neat silver rhinestones that Anna sent to me.

I'm sure no one will ever mistake my funky aluminum foil kisses for the real deal, but overall, I'm pretty okay with 'em. Now, hand over the chocolate and no one gets hurt ...

Thanks so much for spending part of your busy day with me!

~Hugs,


PS: Check out the "Y.ou K.now Y.ou R.ock" challenge card gallery ... we already have four awesome entries! Clickie HERE to see 'em!

Thursday, July 17, 2008

Here, Have a Cupcake ... a 15 Minute Project

Pin It


Today's 15 Minute project was created in a nano-second using die-cuts!

Using my Sizzix cupcake die, I cut out three cupcakes on different colored card stock, then put the cupcake back together again using elements of the die in different colors. If you click on the image, you'll notice that I put the top layer of the frosting through the Cuttlebug "Divine Swirl" embossing folder.

I stamped my sentiment on Kraft card stock, then cut it out using a Nesties Large Classic Circle die, and mounted it on a scrap of pink card stock cut with a Nestie die from the Petite Scallop set.

Finally, I added some pink grosgrain ribbon around the front of the card and applied some Crystal Lacquer to the 'cherry' for a little dimension and shine.

Easy-peasy and ready to serve in just 15 Minutes ... and who doesn't love chocolate cupcakes with strawberry frosting, huh?!?

Thanks so much for sharing part of your busy day with me; YKYR!

~Hugs,


Card Stock: Bazzill, DCWV, and CutCard Stock; Stamps: Stampendous; Ink: Staz-On; Cuttlebug "Divine Swirl" Embossing Folder; Crystal Lacquer; Cupcake Die: "Cupcake #3" by Sizzix; Circle Dies from Spellbinder's Nestabilities Collection; Die-Cut Machine: Cuttlebug by Provo Craft; Ribbon: Michaels; Adhesive: Dimensionals and Scotch ATG 714