Showing posts with label Punch Art. Show all posts

Wednesday, February 4, 2009

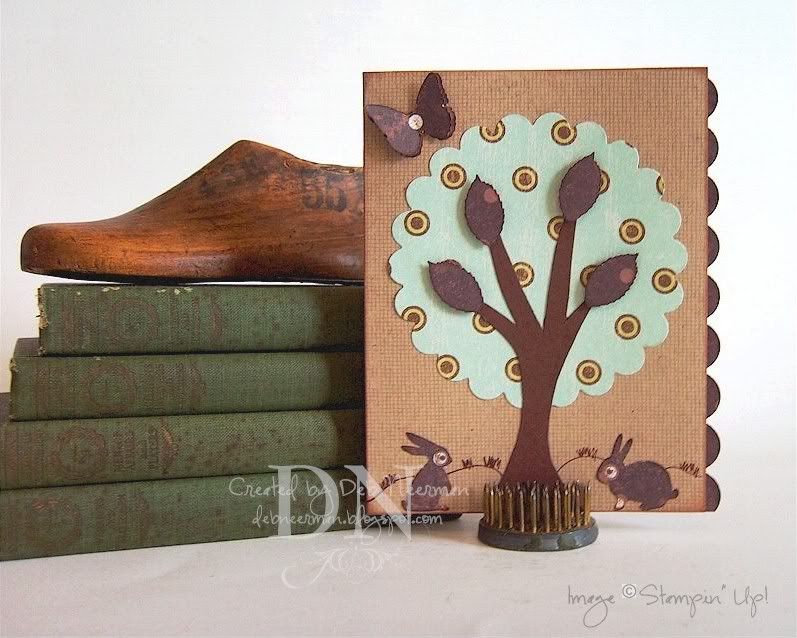
This is Not a Bunny Tree; It's a Tree with Bunnies ...

Pin It


So, today is "Create a Vacuum" Day ... strange, I thought nature abhorred a vacuum. No. Wait. I know: it's me who abhors a vacuum!

Today's card project was created super-fast using a Nestabilities Large Scallop Circle die, scraps of designer paper, and a couple three MS punches. I stamped the Kraft card stock with SU's "Canvas" backgrounder and watermark ink, then free-handed the tree, drew in the ground and added some cheesy-lookin' grass clumps with a drawing pen.

I created a scalloped border with a slit punch and adhered it along the side of the card and finis. Easy-peasy-bunny-squeezy!


Soooo, I'm not quite sure what's goin' on with Sheila ... maybe she's gettin' sick, 'cuz she didn't do or say ONE ridiculous/hysterical/off-color thing all day yesterday. Gosh, I hope she feels better fast; I really miss the free entertainment!

~cHeERS,

  • Card Stock: Papertrey Ink
  • Designer Paper: K&Company; We R Memory Keepers
  • Stamp: "Canvas" Backgrounder by Stampin' Up!
  • Ink: "Chestnut Roan" Fluid Chalk Ink; Watermark Ink by Tsukineko
  • Tools: Drawing Pen by American Crafts; Leaf, Butterfly, and Bunny Punches by Martha Stewart Crafts; Slit Punch by Stampin' Up!; Dimensionals, Unknown; Die-Cut Machine by Provo Craft; Large Scallop Circle Nestabilities by Spellbinder's

Wednesday, January 28, 2009

I Think That I Shall Never See ...

Pin It


a rubber stamp that I don't need. Wait. No. That's not right ... well, it's true but it's not right. Oh. I remember: I think that I shall never see a poem as lovely as a tree. Not necessarily this tree, though.

I swear, someone needs to administer electric shock treatments to me. I was inspired to create this card by some cards I know I saw somewhere in Blogdom ... but I can't remember where. I do recall that the blogger in question had used the same tree ... from SU's "Season of Friendship" set, and punched glossy images from magazines. Wherefore art thou, brilliant one? Well, as soon as I find her, or remember where I saw it, I'll edit this post to properly credit the artiste.


EDITED TO ADD: Amy very kindly directed me to Lydia who is indeed the artiste who created this very kewl card project. You can see Lydia's cards HERE. Thanks so much Amy! Oh. And for being sooooooo nice, you've received a FREE, life-time subscription to my blog!

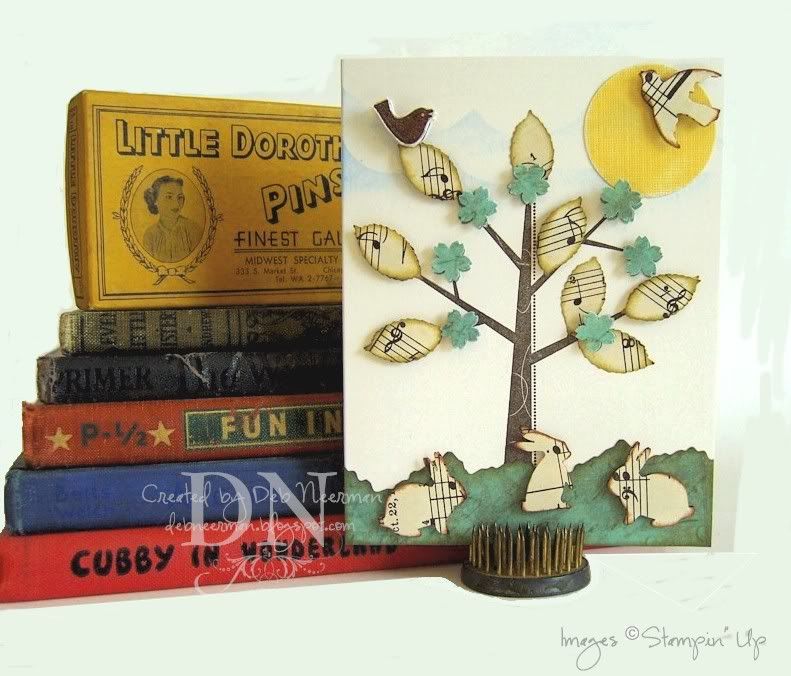
I stamped the aforementioned tree and small birdie with "Timber Brown" solvent ink, then punched out the leaves, the large bird, and the bunnies from vintage sheet music using MS punches. I used some K&Company designer paper for the grass and flowers. As always, you can clicky on the photo for a ginormous view.

I created clouds with a hand-drawn cloud template and fluid chalk ink, then punched out and sanded the sun. All of the critters, the flowers, and most of the leaves were layered for dimension ... using dimensionals. Duh.

Finally, I added some Ranger Inkssentials "Matte Accents" to the l'il bird for some shine ... 'cuz I like my birdies shiny! Next time, I'd add some "Matte Accents" to the tree as well.

Sooooo, after all the dark-rye-bread-hubbub had subsided (see yesterday's post, below), Sheila was complaining to me that her DH refused to learn how to operate a PC.

"I've tried to get him to realize how important it is, since all our financial records are stored on disks." she explained.

"What if something happens to me?" she turned to ask as her poor, defenseless DH wandered through the kitchen ... looking for dark rye bread, I think.

"It's important, Sluggo! You wouldn't know what our assets are," she continued.

"Honey," he replied, "if something happened to you, I wouldn't need any money."

~cHeERS,

  • Card Stock: Bazzill Basics; Papertrey Ink
  • Designer Paper: K&Company
  • Stamps: Tree and Small Bird from "Season of Friendship" by Stampin' Up
  • Ink: "Timber Brown" Solvent Ink by Tsukineko; Dark Moss Fluid Chalk Ink; Chestnut Roan Fluid Chalk Ink
  • Accessories: Vintage (1930's) Sheet Music; Cloud Template; Inkssentials "Matte Accents" by Ranger
  • Tools: 1 1/2" Circle Punch by Marvy Uchida; Small Sakura Punch by Carlacraft; Leaf, Standing Bunny, Sitting Bunny, and Dove Punches by Martha Stewart Crafts; Dimensionals; Large Jagged Edge Decorative Scissors by Provo Craft

Friday, October 17, 2008

Yay! It's "Gaudy Day" ... Do I Win?!?

Pin It


Wooohooo, it's "Gaudy Day!!!" This ^ card is my official entry ... prolly could be gaudier, but it's a damn fine start, wouldn't you say?

ONward H-C-M~s:

Today's card project was created for Allison's "Suggestive Sunday" blog challenge. This week, Allison's challenge required the creative use of punches ... or something like that. I read punches and kinda zoned out from that point forward.

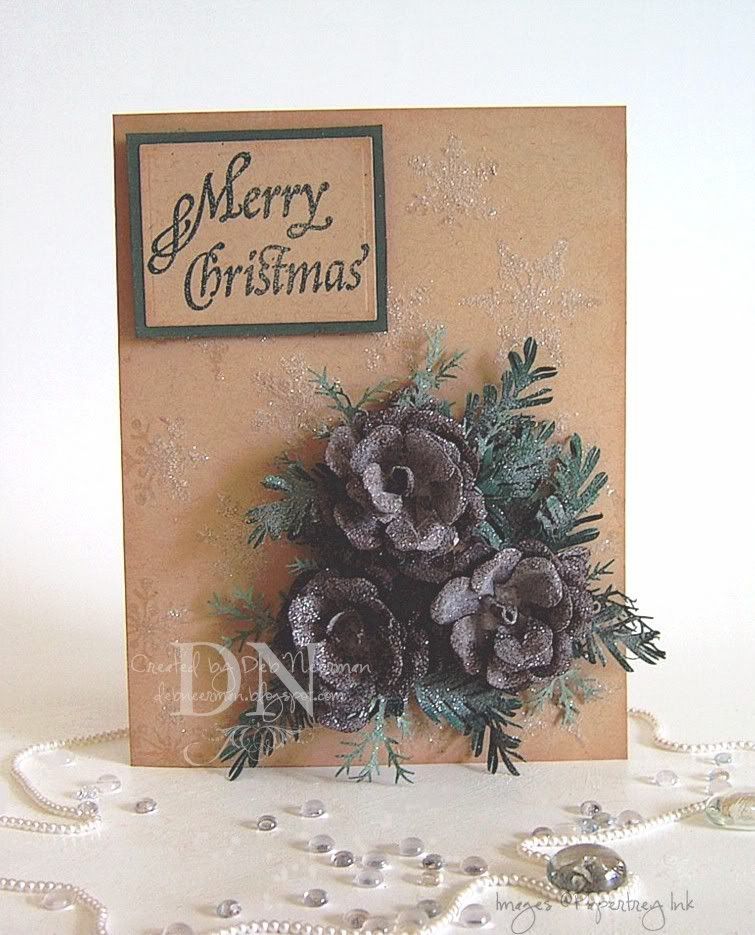
My pine cones (yup, that's what they're supposed to be), were created with a pear punch ... and fern and pine bough punches. 'Course I haven't used the fern and pine bough punches in a particularly creative manner ... I just clipped into the fern fronds to try to create the appearance of needles. The only truly "creative" punch-use was creating the cones using the pear punch. But you can't have pine cones without branches and whatnot, sooooo ... there they are.

I stamped my snowflakes on my card base using glue then poured sprinkled Crystal Snow over ... umm, everything. ALL of the snowflakes are glittery but the ones on the left-hand side of the card look bare. IRL, they're sooooooo stinkin' glittery, I almost can't stand it. Just a light thing, KWIM? But those pine cones? They're buried in Crystal Snow! But first, I sprayed them with Artists Spray Mount Adhesive.

TIP: Man, don't ever spray Artists Spray Mount Adhesive anywhere indoors! You know those non-stick craft sheets? Yeah, it's not non-stick when it comes to Spray Mount Adhesive ... honestly boy and girls, it took me longer to clean up the spray adhesive mess than to make the pine cones, make the card, photograph the card, or edit my photos ... and it's still stuck to my hands. {Sigh} Good times!

The sentiment, maker unknown, was stamped in Versamark, heat embossed with "Moonlit Forest Glitz" powder, and mounted on dimensionals. And that's all folks!

So, yesterday Sheila came over all agitated and asked me to go to Publix-Where-Shopping-Is-A-Pleasure with her.

"What's wrong, Kiddo?" I asked.

She thrust a box of animal crackers at me and said, "See this? I bought this box of animal crackers and look! It says right on it, "Do not eat if seal is broken."

She reached into the box and sure enough ...

Seriously.

~Hugs,

  • Card Stock: Bazzill Basics
  • Designer Paper: None (AGAIN! Why do I hoard this stuff? Why?!?)
  • Stamps: Snowflakes from "Snowflake Serenade" by Papertrey Ink; Sentiment, Unknown
  • Ink: Versamark; "Creamy Brown" Fluid Chalk Ink by Clearsnap
  • Accessories: "Crystal Snow" by Stampendous!; "Moonlit Forest Glitz" EP by Comotion
  • Tools: Die-Cut Machine; Spellbinder's Die; Pear Craft Punch by Punch Bunch; Pine Bough Craft Punch by McGill; Large Fern Craft Punch by Punch Bunch; Golden Heavy Gel Medium; "Palette" Glue Stamp Pad by Stewart Superior; Black Dimensionals; The Ultimate Craft Glue by Api; Artists Spray Mount Adhesive by 3M

Sunday, August 24, 2008

Need a Tree Topper? How 'Bout a Tree?

Pin It


Hey, anybody need a Christmas tree topper? Maybe a nice l'il tree for a tabletop? Well, then, here ya go!

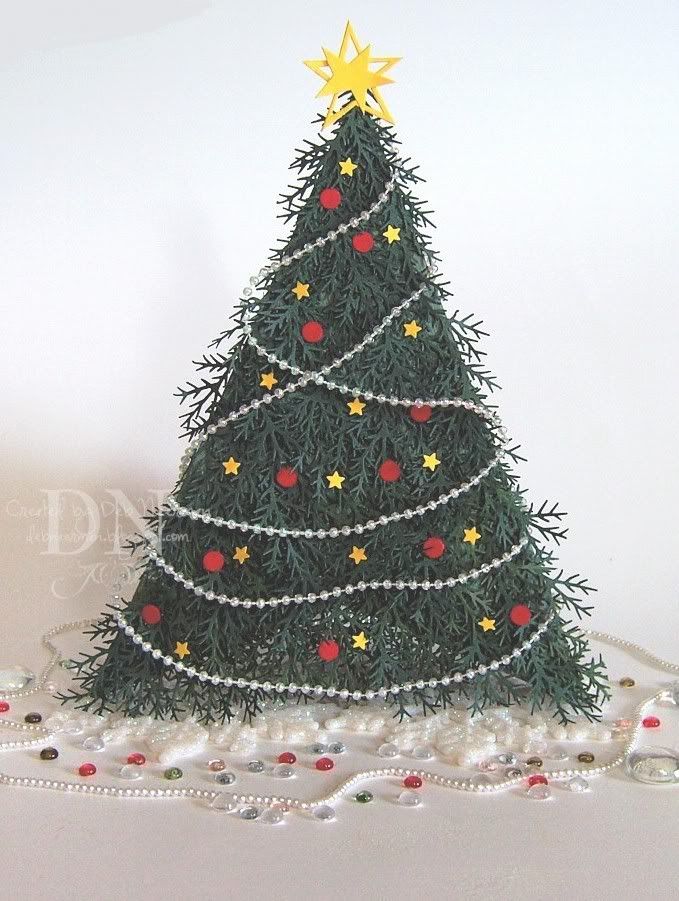
Today's no-stampin' paper project was created for Allison's "Suggestive Sunday" blog challenge. This is my second project created using the Pyramid fold and as promised, it's totally over-the-top, no?

Using green card stock and my pine bough paper punch, I punched out a bazillion pine boughs and layered them on to my pyramid.

I created a star-topper using a Cuttlebug die, wrapped a length of iridescent pearls around the tree, then created 'ornaments' using a star and circle punch.

Yup, I can hear you already, "w-a-y too much time on her hands," but I created this pyramid card in less time than it took to create my Halloween pyramid card. My speedy secret? A Power Punch tool and lots of fast drying super-sticky-craft glue. Oh. And Red Bull ...

Hope you're enjoying your Sunday; thanks so much for spending part of your day with me!

~Hugs,

  • Card Stock: DCWV; Bazzill Basics
  • Accessory: Iridescent Pearls
  • Tools: Power Punch; Star Punch; Circle Punch; "The Ultimate" Glue

PS PEEPS: If you're interested in purchasing stamps ... as if ... I've just listed several nice ones in my eBay store. To check 'em out, clicky HERE. Thanks for lookin'!

Friday, August 22, 2008

A "Tag,You're It" Guest Designer Gig

Pin It


Hey, stampers, it's "Be an Angel Day!" Today's the day to be up in the air and always harping about something. Now go buy yourself some heavenly new stamps.

Onward. I can't tell you how excited I was when the loverly Anne and Sam invited me to be this week's guest designer for the "Tag You're It" challenge! Well, I could tell you how excited I was, but my post's are already too long ... and boring ... and I am tryin' to be a Angel today, so I won't go into all the that.

For my stint as Guest Designer, I chose "Punch Art" for my theme. But you prolly guessed that already, didn't you Miss Smarty Pants ...

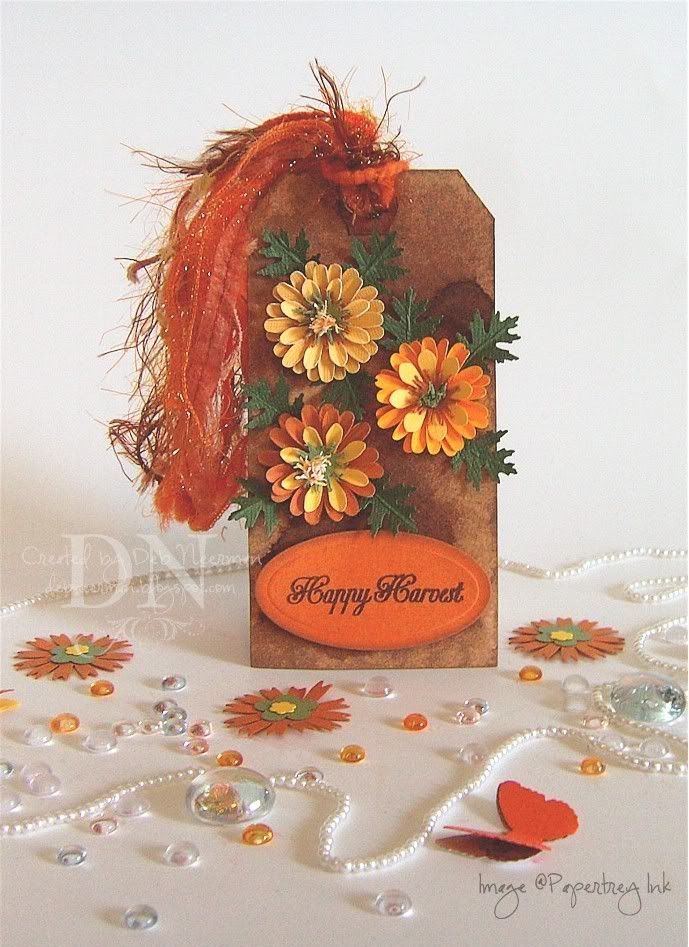
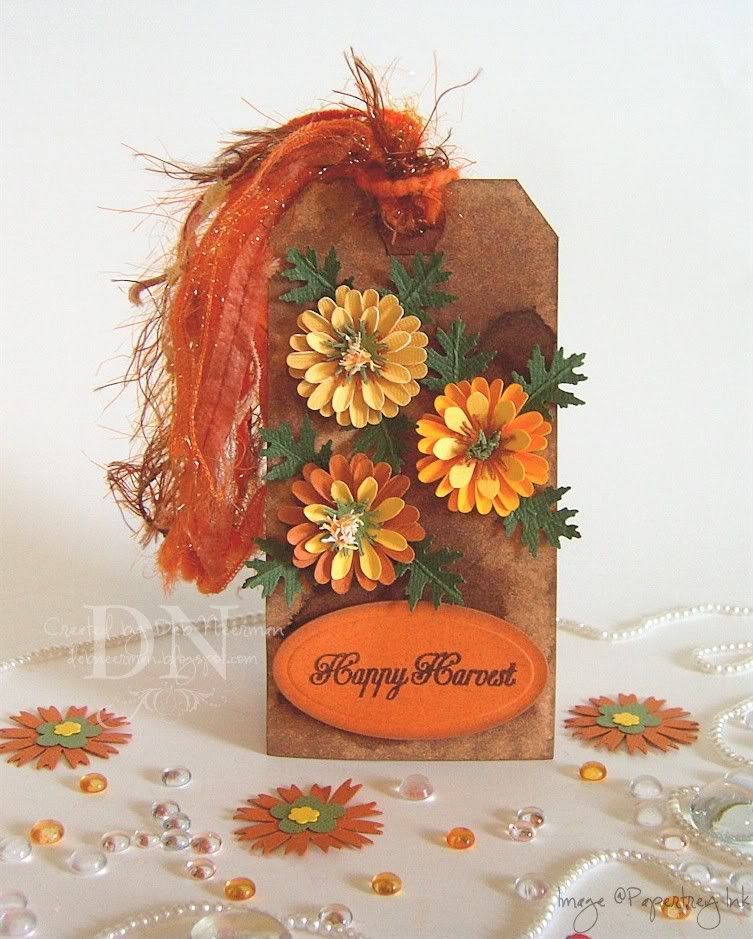
Using daisy punches, I created three marigold-ish-like flowers, created stamens using a sun punch, then created leaves using an oak leaf punch. I mounted the flowers on my heavily distressed shipping tag using super-duper-icky-sticky glue.

Here's a close-up for those of you who are hearing impaired:


I stamped my sentiment on Bazzill card stock and mounted it on my tag using dimensionals. Finally, I tied on lots of funky fibers in fall colors ... say that five times fast!

Making these punch art flowers is so much fun and so easy ... no, really! I wouldn't lie to you, don't forget, I'm an Angel ... today, anyway!

Oh. Today, my niece called and told me she is putting together a CD of 70's rock groups for her BFF. She asked me if I could help and name a couple of them.

"Yes!" I said.
"Who?" she asked.
"There you go," I answered.

~Hugs!

  • Card Stock: Bazzill
  • Stamp: Papertrey Ink
  • Ink: Staz-On by Tsukineko, Fluid Chalk Ink by Clearsnap
  • Accessories: Fibers, Personal Collection, Various Manufacturers
  • Tools: Die Cut Machine; Large Classic Oval Die by Spellbinder's; Daisy Punch by McGill, Small Daisy Punch, Unknown, Sun Punch by Cuttin' Edge, Leaf Punch, Unknown; Stylus' by Fiskars; The Ultimate Craft Glue by Api; Black Dimensionals, Unknown

Wednesday, August 20, 2008

Don't Forget to Wipe Your Feet ... A "Tag, You're It" Challenge Entry

Pin It


Happy National Radio Day, boys and girls!

My photos are not the best and I apologize. My excuse is the crummy weather we here in So Florida are currently 'enjoying.' Between tornado, flood, tropical storm, monsoon, and hurricane warnings, it's either the lack of natural light or the lack of electricity that's to blame for my yucky photographs. Sorry 'bout that, kids!

Today's project was created for Anne and Sam's "Tag, You're It" blog challenge. This week's theme is Christmas ... I know you didn't see that comin'!

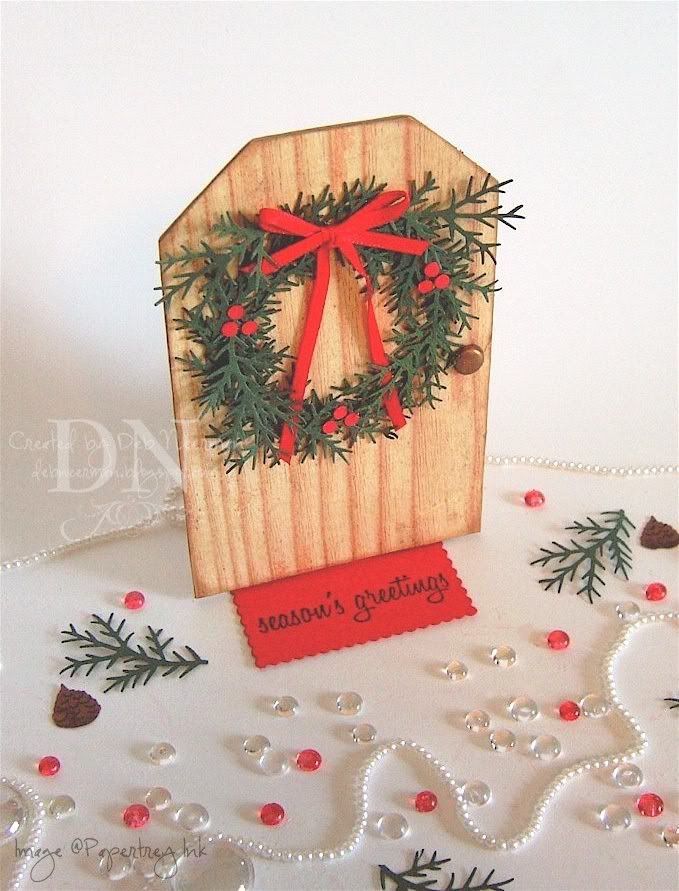
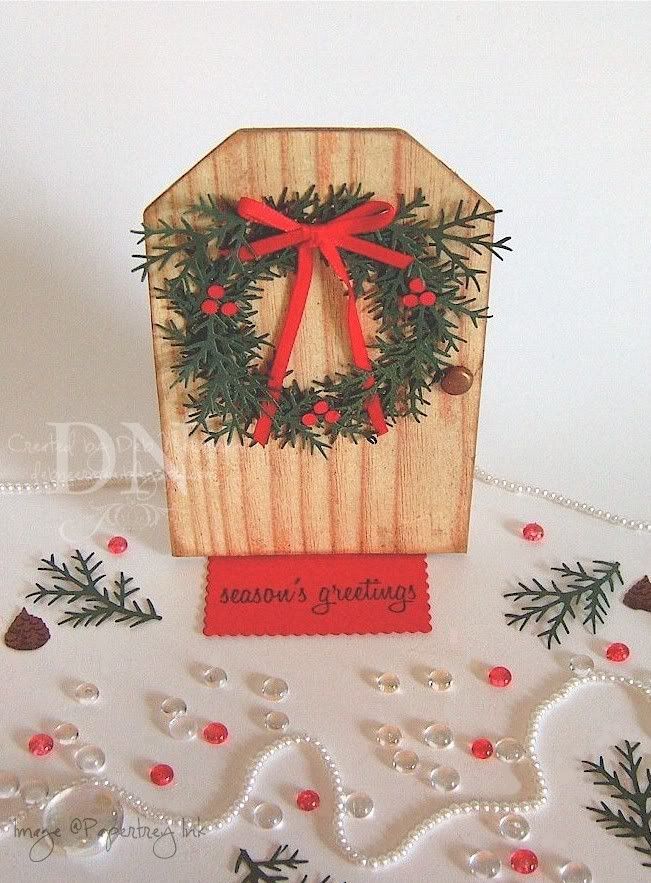
I covered my chipboard tag with DP from Cosmo Cricket's "Wanted" collection, then sponged the edges with fluid chalk ink. Next, I created a wreath using card stock and a pine bough paper punch. I added some ribbon and some "holly berries" to the wreath, and used a copper brad to create my "door knob."

I stamped my sentiment on red card stock and cut it out using a scallop-edge rectangular die. I created a hinge from matching card stock to attach my "door mat" to my "door."


Easy-peasy and ready to serve in just ..... ohhhhh, let's say, 30 minutes!

One quick, cute, topical joke to share:

At the Olympic Games, a girl bumps into a man carrying an eight-foot-long metal stick.
"Excuse me," says the girl to the man, "Are you a pole vaulter?"
"No," says the man, "I'm German, but how did you know my name is Walter?"

Hey, thanks for dropping by today!

~Hugs,

  • Card Stock: DCWV; Bazzill
  • Chipboard Tag
  • Designer Paper: Cosmo Cricket, "Wanted" Collection
  • Stamp: Papertrey Ink
  • Ink: Brilliance by Tsukineko; Colorbox Fluid Chalk
  • Accessories: Antique Copper Brad; 1/8" Satin Ribbon
  • Tools: Die-Cut Machine; Nestabilities Die; Pine Bough Punch; Mini-Hole Punch; "The Ultimate" Glue; Mini-Glue Dots

Saturday, August 16, 2008

"Three's Company" ... Wait; Isn't Three a Crowd?

Pin It


Hey, everyone it's Cartoon Day again! Yay!

And let me apologize right away for my wonky photo; I'm not sure if it's Photobucket, or Blogger, but the image appears to be w-a-y too tightly focused. My original photo looks fine, so I'm not sure what's causing the problem. It'll prolly resolve itself before this post hits the blog and then you'll be reading this thinkin' I'm crazy ... again! Maybe it's just me ...

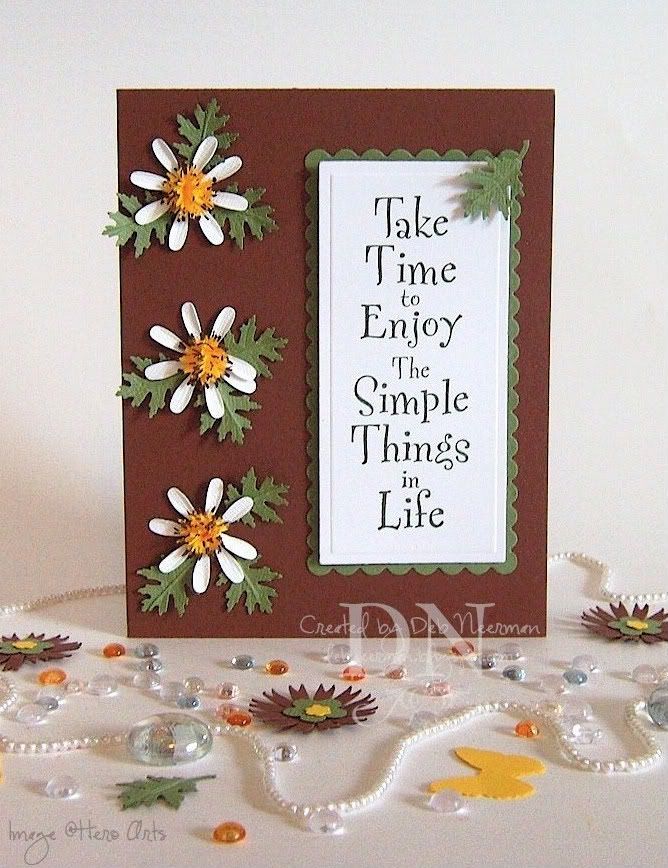
Today's card project was created for the "Stamping Challenges to Love" girls' second challenge, "Three's Company. The idea is to create using multiples of threes ... of anything. I chose to make some punch art flowers, three of 'em; with leaves, three of 'em.

My flowers are styled after Coreopsis'... also known as Tickseed, a member of the daisy family. I'm not certain I've achieved it, but that was what I was goin' for ... just so's ya know.

I used exactly three punches to create my flowers ... perfect for the "Three's Company" challenge, huh? In case you're interested, I listed the punches below in the supply list.

Once the flowers were made, I simply stamped my image on Stamper's Select white card stock, die cut a scalloped mat, and using a sliver of a dimensional, stuck a lonesome l'il leaf on the upper right-hand corner. A simple card, but definitely not a quicky!

Thanks so much for spending part of National Bratwurst Day with me ... hey, it could be wurst!

~Hugs,


  • Card Stock: Cut Card Stock; Bazzill Basics; Papertrey Ink
  • Stamp: "Time to Enjoy" by Hero Arts
  • Ink: Staz-On "Olive Green" by Tsukineko
  • Color Medium: Copic Marker #E77
  • Tools: Cuttlebug Die Cut Machine; Long Classic Rectangle and Scallop Dies by Spellbinder's; Dimensionals, Scotch Foamies, "The Ultimate" glue by Api; Medium and Small Stylus' by Fiskars; Daisy Punch by McGill; Sun Punch by Cuttin' Edge; Oak Leaf Punch, Unknown

Tuesday, August 5, 2008

Hello, Pretty Bird ...

Pin It


Welcome to the jungle!

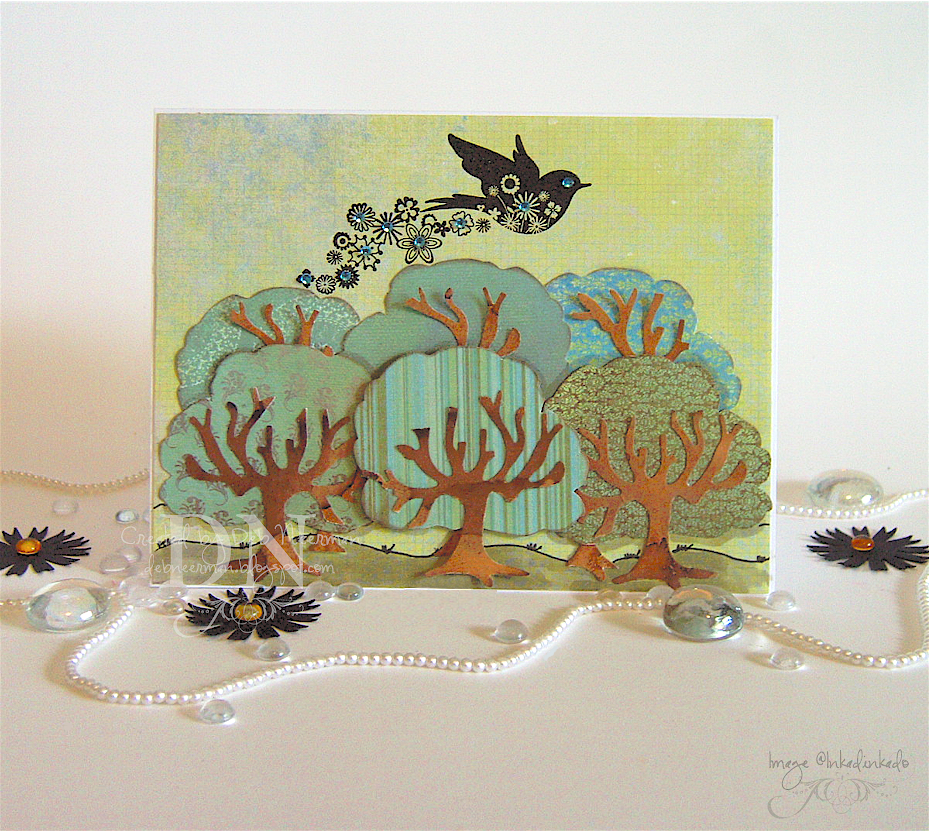
Today's card project was created for no good reason using craft punches and a kewl bird stamp from Inkadinkado. This is such a beautiful stamp, and so realistic, too ... 'cuz all birds fly scattering a trail of flowers and faux gemstones behind 'em! As always, for a closer look, simply clicky on the photo.

Using designer paper from Memory Box, I punched out six trees and using scraps of walnut-ink-stained card stock, I punched out the bare trees.

I adhered all my trees to my card stock base, matted with DP from Basic Grey, popping some of them up on dimensionals.

Using a lining pen, I drew in the ground line and some grass clumps (doesn't that look just like grass!?!), and added some shading with Copic marker W3.

Finally, I used a stamp positioner to stamp my bird using "Graphite Black" Brilliance ink, and added some rhinestone-bling.

Now, be honest, doesn't this scene look just like Central Park ... on LSD?!?

~Hugs,

PS: I've received a couple of emails from peeps askin' about my supply list. Lately, I haven't been including a list and, apparently, some of you actually enjoy seeing which supplies I've used in a project.

I'm happy to include it in my posts, but I'd really appreciate some feedback regarding supply lists ~ do you care, do you read them, or do you think they're a waste of both of our time and energy since you already have all this krap, too? Lemme know whatcha think, okeedokee? Thanks!

Card Stock: Papertrey Ink; Designer Paper: "Periphery" Collection by Basic Grey, "Inspire" Collection by Memory Box; Stamp: Inkadinkado; Ink: "Graphite Black" Brilliance by Tsukineko; Pen: American Crafts; Copic Marker; Tree Punch: Punch Bunch; Bare Tree Punch: McGill; Faux Rhinestones: Michaels (a gift from my pal, Anna); Walnut Ink: 7gypsies; Adhesives: Scrap Fusion PA by Ivy Scraps, Dimensionals: Unknown, Obtained in a Sticky Share

Saturday, July 26, 2008

Walnut Ink Resist ... Using a Mini Mask

Pin It


Happy Saturday, boys and girls! I don't know about you, but I've loved Saturdays since I was a little kid ... 'cuz Saturday mornings meant just one thing: cartoons! Which has absolutely nothing to do with my post ... but when have I ever let that stop me!

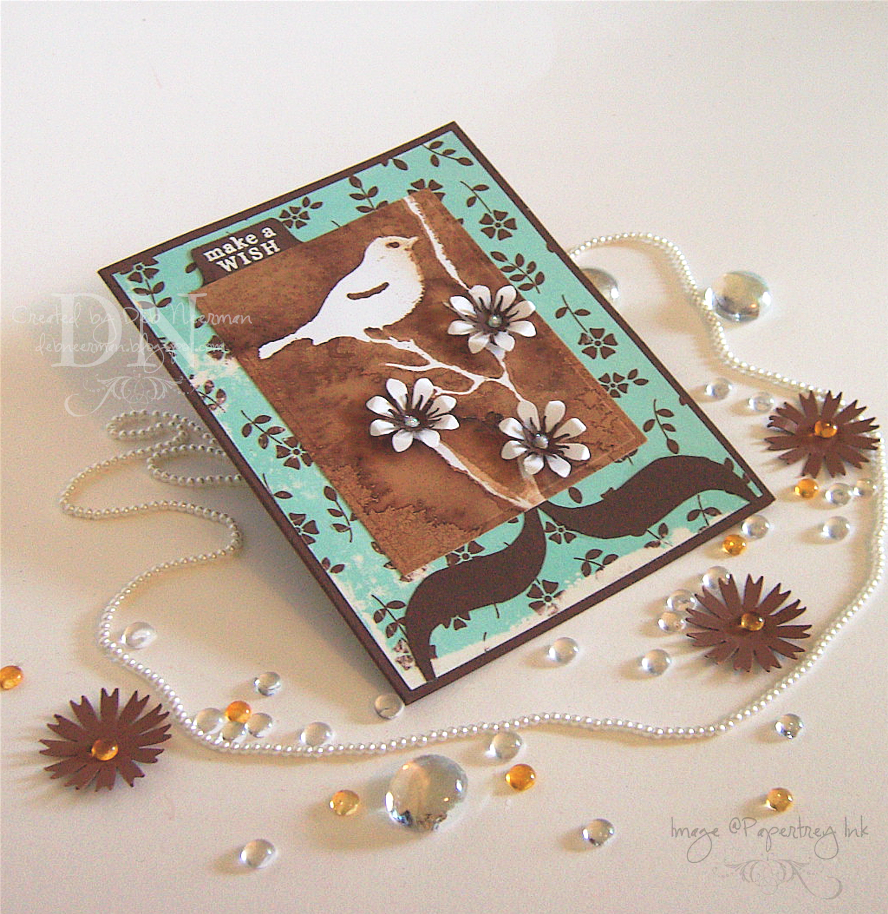
Today's card project was created as an experiment: I wanted to see if I could create a mask resist using a Heidi Swapp mini-mask and walnut ink. As always, if you'd like a ginormous closer look, simply click on the photo.

I placed the mask on Xerox 110# card stock and sprayed on buckets (not really), of walnut ink. I like to really saturate the card stock, allowing the ink to pool up around the mask. Doing so, creates lots of kewl splotches and blotches of color making for a more interesting background.

In spite of the instructions, I left the mask in place overnight while the ink dried; when I removed it, I was really pleased with the results. I was afraid that the mask would allow the ink to seep underneath, ruining the project, but it held up just fine to my buckets (not really), of walnut ink. In fact, very little ink bled under the mask and, as an experiment, I touched up some areas with a Ranger Inkssentials opaque white pen. It blended in perfectly!

I created some flowers with craft punches, stamped and white heat embossed a sentiment, and attached a card stock bracket to the bottom of the card. Finally, I added a dot of Stickles in the center of each flower for some bling.

TIP: Always save the sheet your push-out die-cuts come in; you can easily trace new "die cuts" using the leftover negatives!

I'm pretty pleased with this technique and will definitely be trying it again with other mini-masks. If you create a mask-resist background, leave a comment and a link-up; I'd love to see your project!

Thanks so much for spending part of your busy weekend with me!

~Hugs,


Card Stock: Xerox 110#, CutCardStock; Designer Paper: "County Fair" Collection by October Afternoon; Stamp: Sentiment from Papertrey Ink; "Bird" Mini-Mask by Heidi Swapp; Ink: Versamark Watermark; Fine White Embossing Powder by Powder Keg; Walnut Ink: 7gypsies; White Opaque Pen: "Inkssentials" by Ranger Industries; Stickles by Ranger Industries; Various Craft Punches; File Tab Punch: Stampin' Up!; Adhesive: Scotch ATG 714, Scrap Fusion PA by Ivy Scraps

Monday, July 14, 2008

A Basket Full of (Edible) Flowers ='s Two Challenge Entries

Pin It


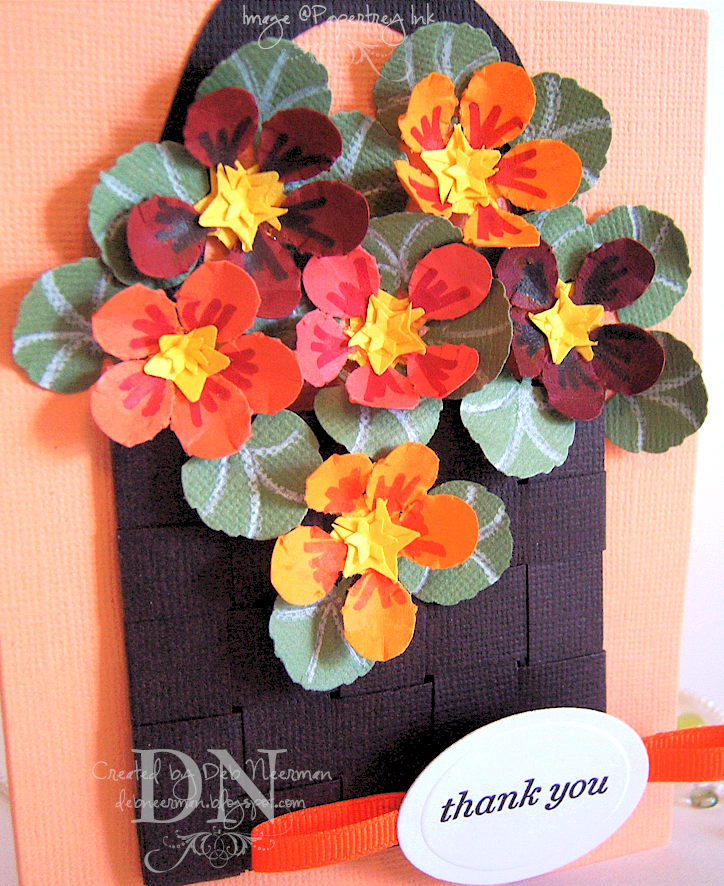
Okay, the reason I put "edible" in the post title ^, is because: 1.) nasturtiums actually are edible ... (they're supposed to be nasturtiums ... please humor me); and, b.) I'm tryin' to qualify for this week's One Powerful Hour blog challenge. Oh, and also for Sharon's "Stamp Simply" challenge. Sharon's theme this week is to "Give Thanks," which has nothing to do with edible flowers but has everything to do with the sentiment I stamped. So, today's card project is a twofer!

I just discovered (Annapurna hooked me up), One Powerful Hour's challenge blog and I love the ground rules: you must complete your piece from start to finish in just 1 hour, including cleaning up after yourself. Since I'm the self-appointed Queen of the 15 Minute project, I had to play along. This week's theme is "Food and/or Beverage" ... hence, the edible flowers.

I created my "basket" by weaving Bazzill card stock strips together ... like we did in first grade, 'member? Then, using various craft punches, I created the flowers and leaves and glued them down on the card stock.

Here's a closer look:

Or, for a ginormous look, simply click on the image.

My sentiment was stamped on Xerox 110# card stock using a stamp from Papertrey Ink using Timber Brown Staz-On solvent ink, die cut it, and mounted it on a piece of looped ribbon.

Tomorrow, I'll give you all the details regarding what Julie Koerber and I have hatched up ... so, check back then ... and make note of what CD you're listening to in your home, car, or studio, okeedokee?!?

Thanks so much for spending part of your Monday with me; YKYR!

~Hugs,


Card Stock: Bazzill Basic, DCWV, and Xerox 110#; Stamp: Papertrey Ink; Ink: Staz-On; Pencil: Prismacolor; Markers: Zig; 1/4" Grosgrain Ribbon; Die: Large Classic Oval Set by Spellbinder's; Die-Cut Machine: Cuttlebug by Provo Craft; Various Craft Punches; Adhesives: Scotch ATG 714 and "The Ultimate" by Api


Tuesday, May 6, 2008

A Window Box Full of Flowers ... A "Think Spring" Blog Challenge Entry

Pin It


Hello everyone ... happy Tuesday!

Today's card project was created for Sharon's "Stamp Simply" blog challenge. The challenge this week is to 'think spring' — and to use pink and green in your card. Oh, and a flower ... or in my case, many flowers!

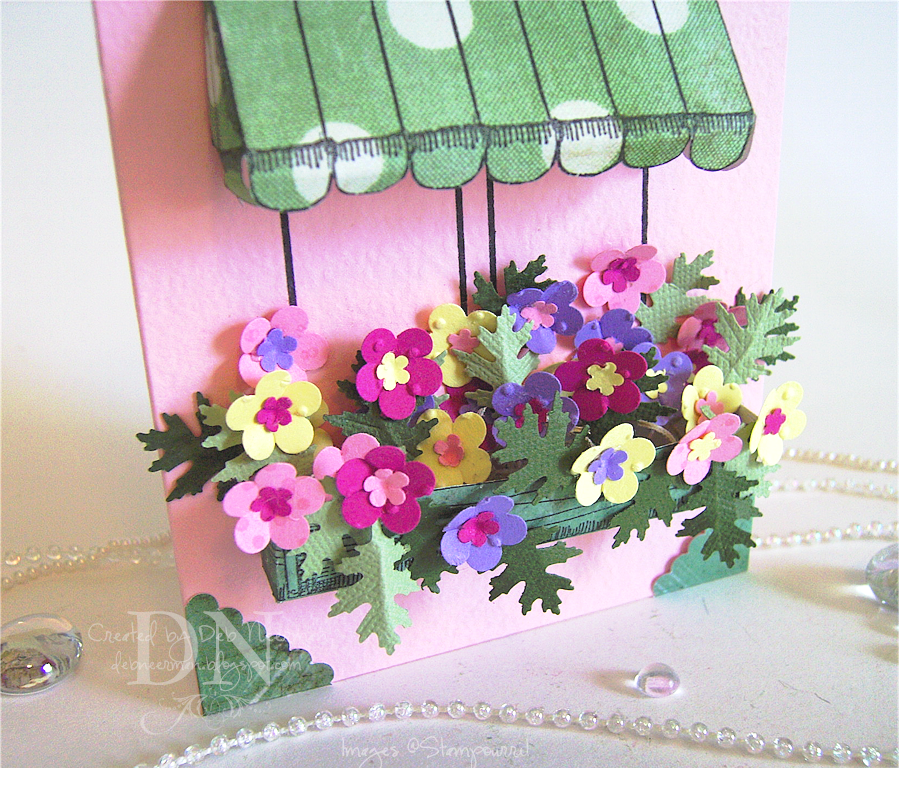
I used my ancient 3D Awning and Window Box stamp set from Stampourri! for this challenge; stamping on DP from Daisy D's "Nursery" collection.

I also masked a triple Stamp It! block to create a faux window on my Prism card stock base.

The flowers and leaves were all punched from card stock using a variety of punches.

To add some 'meat' to the interior of the box, I glued down some spaghnum moss. I glued punched leaves and flowers to the moss, to the sides of the window box, and to the card front. Here's a closer look:


As always, you can click on the photos for a giant closer look.

I punched some scallop-edge photo corners and attached them to each corner of the card ... and, Tah Dah!

And yes, this card does need to be hand-delivered or mailed in a box.

Thanks so much for spending part of your busy day with me!

~Hugs,


Card Stock: Bazzill, DCWV, and Prism; Stamps: Stamp It! Triple Block, 3D Window Box and Awning by Stampourri!; Ink: Ranger Distress "Black Soot"; Various Craft Punches

Thursday, May 1, 2008

15 Minute Project ... a "Thinking Outside the Box" Challenge Entry

Pin It


Today's card project was created for Sharon's "Stamp Simply" blog Challenge. This week, Sharon's challenge called for "Thinking Outside the Box" ... meaning to use a stamp in some way other than the way it was originally intended to be used. Got all that? Good!

It took me longer than 15 Minutes to decide on a stamp, but once I did it was downhill from there.

I chose to use this "Outlines" ladybug stamp. I stamped my image on Xerox 110# card stock and once again on DCWV colored card stock. Then I flipped it upside down, punched out some card stock flowers and leaves, and created a shadow with a Copic marker (W1)

I mounted everything on my base card stock using dimensionals and added a loop of ribbon for ... for some reason I can't remember ... it seemed like a good item at the time ... and was done!

Regarding the Diva Impressions stamp giveaway, I've yet to hear from the winner (either one, actually), sooooo I'll wait a couple of days and if the winner still hasn't surfaced, I'll draw again for a new winner. So, if you originally posted a comment on that giveaway, you may have another shot at winning 'em!

Thanks so much for sharing part of your busy day with me!

~Hugs,


Card Stock: Xerox 110#, Prism, DCWV, Bazzill; Stamp: Outlines Rubber Stamps; Ink: Ranger Distress Ink in Black Soot; Copic Marker W1; Die Cut Machine: Provo Craft; Dies: Spellbinder's; Punches: Various; Grosgrain Ribbon: Unknown, Obtained in a Ribbon Share