Saturday, August 9, 2008

Out of the Box ... Literally

Pin It


Yay, it's Cartoon Day again!!

And I've got some happy news to share with you: my neighbor, the man who fell into an upholstery machine, is now fully recovered!

So, today's card project was created for the Stampin' Links to Love girls very first blog challenge. And their very first theme is, "Outside the Box" ... I'll bet my post title gave it away, huh?!? For all the deets on the challenge click HERE.

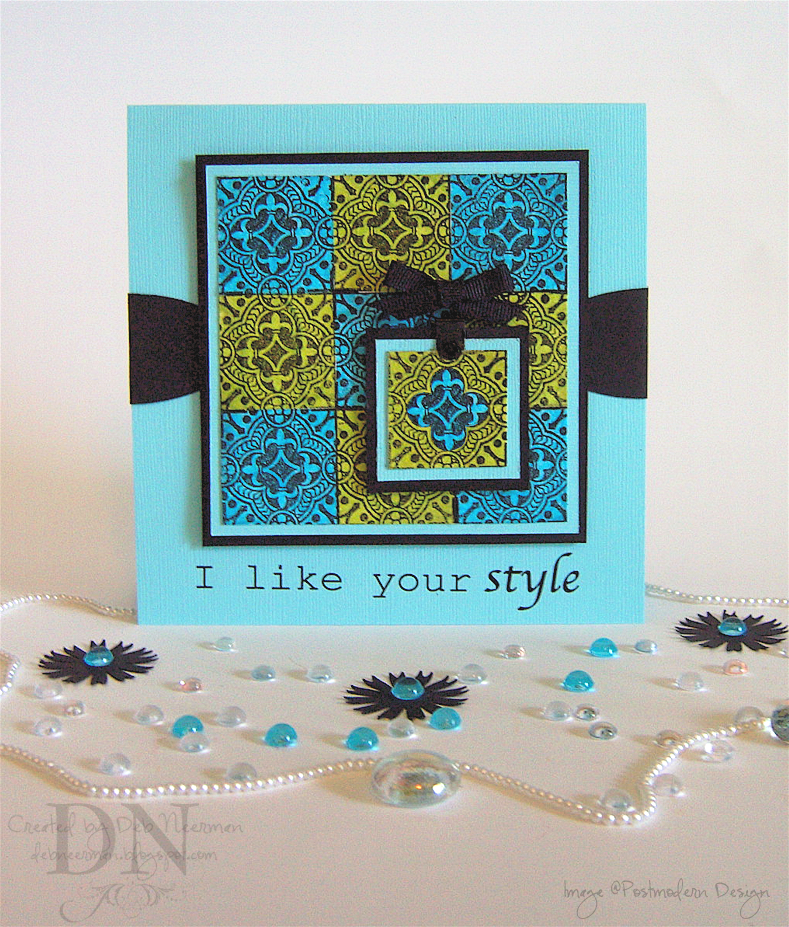
I stamped my repeating border image on turquoise and lime mulberry paper using black Brilliance ink. TIP: Since mulberry paper is tissue thin, mount it, and other thin speciality papers, on white card stock before stamping.

I heat set my ink, cut the border apart, then put it back together as shown. I double matted both stamped images on Bazzill card stock, attached a black frame hanger with a brad, and tied on a black ribbon. Both completed mats were mounted to my card base using black dimensionals.

Using a die from the Petite Oval Nestabilities set, I cut two ovals out of black card stock and adhered them to either sides of my card ... kinda looks like ribbon, doesn't it? Finally, I used a rub-on for my sentiment, and finis!

Thanks so much for sharing part of your Cartoon Day with me; you guys rock! Oh, and speaking of rockin', please head over to Y.OU K.NOW Y.OU R.OCK and show some love to our players by voting for your favorite rockin' card.

Until tomorrow, I leave you with this: relish today ... ketchup tomorrow.

~Hugs,


Paper: Bazzill Card Stock; Mulberry Paper
Stamp: Postmodern Design
Ink: Brilliance "Graphite Black" by Tsukineko
Tools: Craft Knife; Spellbinder's Die; Cuttlebug; Scrap Fusion, Ivy Scraps, Black Dimensionals
Accessories: Frame Hanger; Grosgrain Ribbon; Black Brad; Rub-On by Provo Craft

Friday, August 8, 2008

Stare at This Until You See the Magic 3-D Picture ...

Pin It


So today, while going through some neat vintage Tarot cards, I wondered: if a short fortune-teller escaped from prison, would he then be considered a small medium at large?

I kill me ...

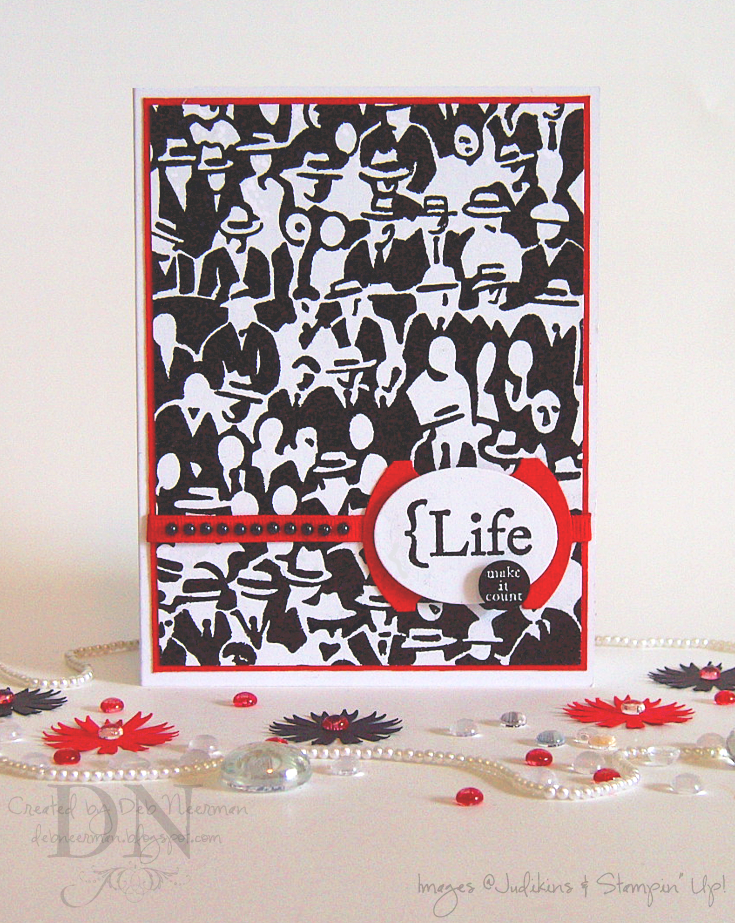
Today's card project was created for Allison's "Suggestive Sunday" blog challenge. This week, Allison asked us to create an abstract paper project inspired by the Framed Art department at Target. So, after viewing 18 pages of Abstract art on Target.com (who knew?!?), I chose to use this w-a-y kewl, and w-a-y big, JudiKins rubber stamp.

I stamped my image on white card stock with Versamark, embossed with Midnight Black embossing powder, and matted with red speciality paper. Yup, every bit of black you see on this card is heat embossed. I stamped my sentiments, from Stampin' Up!, (thanks, Mel!), in the same manner, and mounted them on a unfolded round file tab punchie.

TIP: Oftentimes when heat embossing, for one reason or another, you'll find a 'bare' spot. Rather than pitch the whole project, do this: wait for the embossed card stock to cool, then go over your bare areas with a matching marker or paint pen. On this humongous embossing project, I touched up the bare spots with a Copic marker (#100).

Finally, I adhered my sentiments using black dimensionals, added a ribbon, and some black faux pearls, and finis!

Now, click on the image for a ginormous photo and keep staring at it until you see the magic 3-D image. Then, if you would, please leave me a comment letting me know what you saw in there, okeedokee?!? 'Cuz we're having some differing opinions here ... thanks!

Don't forget to Rock the Vote at Y.ou K.now Y.ou R.ock's "Rock the Cover" contest!

Until tomorrow, I leave you with the immortal words of Venus de Milo who said, "I guess huggin' is out."

~Cheers,


Card Stock: "Stamper's Select - White" by Papertrey Ink; Stamp: by JudiKins; Ink: "Versamark" by Tsukineko; Embossing Powder: "Midnight Black" by Stampendous; Copic "Ciao" Marker #100; Grosgrain Ribbon: Unknown, Obtained in a Ribbon Share; Faux Pearls: by Mark Richards; Adhesive: "Scrap Fusion PA" by Ivy Scraps, Black Dimensionals; Tools: Cuttlebug Die-Cut Machine; Die: "Large Classic Oval" Nestabilities Set by Spellbinder's; Punches: "Round File Tab" Punch by Stampin' Up!, 1.5" Circle Punch by Punch Bunch


Thursday, August 7, 2008

'White on White' ... or is it 'Cream on Cream'

Pin It


Phew, today's one of those days where I feel like I'm diagonally parked in a parallel universe ... but enough about me!

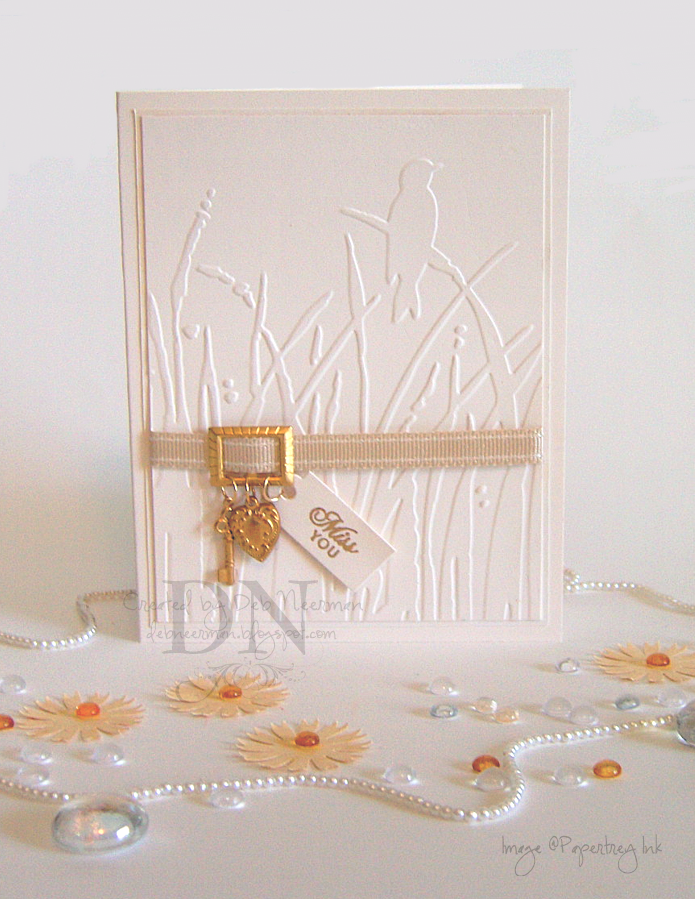
Today's cream-on-cream white-on-white project was next to impossible to photograph, so let me apologize for my crappy photo right now and get it over with.

This card was created for Sharon's "Stamp Simply" blog challenge ... and is this ever "stamped simply!" Sharon's instructions called for creating a card that is basically white on white; allowing us to add some very light pastels while keeping the color scheme as light/white as possible.

I ran my cream white card stock through the Cuttlebug in the newly released, "Bird Call" A2 embossing folder, then matted it on cream white DP from Cosmo Cricket's "Fleuriste" collection.

I die-cut a little cream white tag then stamped my sentiment, by Papertrey Ink, in Versamark, and heat embossed with gold powder.

Finally, I adhered some ribbon, including a ribbon slide, then attached my little tag, heart charm, and key charm with jump rings.

Easy-peasy and ready to serve in just 15 Minutes!

Thanks so much for spending part of your busy day with me; YKYR!!

~Hugs,

Wednesday, August 6, 2008

Tag, You're It ... Now in Teal, Lime, and Black

Pin It


Happy Wednesday, boys and girls! Today, while measuring card stock, it suddenly occurred to me that without geometry, life is pointless.

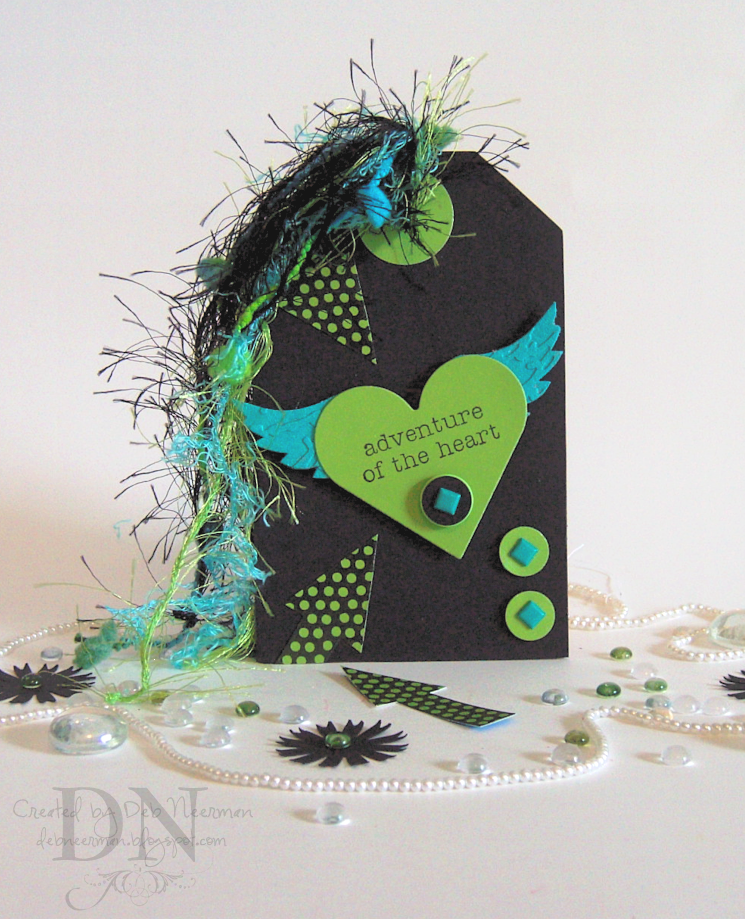
Okeedokee then. Today's tag project was created for this week's "Tag, You're It" blog challenge. This week, the amazin' Tag Ladies ... not to be confused with the amazin' Bag Ladies ... required players to create a tag using just three colors: teal, black, and lime green. I guess you saw that comin', huh?

I ran a set of Grungeboard wings through the Cuttlebug in the Script embossing folder, then painted the wings with Golden Fluid acrylic paint. I mounted the wings to my tag using black pop-up dimensionals.

TIP: Invest in some black dimensionals; they're perfect for using on dark backgrounds, such as my tag, but they also eliminate the unsightly view of those bright white dimensionals you're currently using. The black ones practically 'disappear' ... and I've discovered that yes, people do look under there! I KNOW, crazy, huh?!?

Next, I stamped my sentiment, (Tuscan Rose ... I think), on lime green card stock then cut out a heart using a die from the Nestabilities Classic Heart collection. Using more dimensionals, I mounted the heart die-cut to the wings.

Using this very kewl stamp from FontWerks, which I dearly {heart}, I stamped two arrows, cut them out and glued them to my tag, trimming off the excess flush with the tag.

Finally, I punched out three 1/2" circles and fitted them with teal brads; the black one was mounted on a lime green button. I added some funky fibers and finis! Quick and dirty easy!

On a different note, voting has begun in the Y.ou K.now Y.ou R.ock "Rock the Cover" challenge! Head on over to the Y.K.Y.R. blog to vote for your favorite card ... and wait till you see these entries ... they ALL totally rock! And remember, it's one vote per person so every vote counts! Yup, yours too!

Thanks for spending part of your busy day with me ... now go Rock the Y.K.Y.R. Vote!

~Hugs,


Chipboard Tag: Oriental Trading Company; Card Stock: DCWV, Other: Unknown; Unmounted Sentiment Stamp: Tuscan Rose ... I think; Polka Dot Arrow Stamp: FontWerks; Ink: "Black Soot" Distress Ink by Ranger Industries; Paint: "Cobalt Teal" Fluid Acrylic by Golden; Grungeboard: "Mini's" by Tim Holtz for Ranger Industries; Embossing Folder: Cuttlebug "Script" by Provo Craft; Tools: Double Circle Punch by EK Success, 1/2" Circle Punch by Stampin' Up!; Heart Die: "Classic Heart" Nestabilities by Spellbinder's; Accessories: Button by Doodlebug; Brads: Unknown, Found in Mt. Brad; Funky Fibers: Various Eyelash and Confetti Yarns; Adhesive: Scrap Fusion PA by Ivy Scraps; Black Dimensionals: Unknown, Obtained in a Sticky Share; If Anyone is Still Readin' This: Wow, How Patient Are You?!?

Tuesday, August 5, 2008

Hello, Pretty Bird ...

Pin It


Welcome to the jungle!

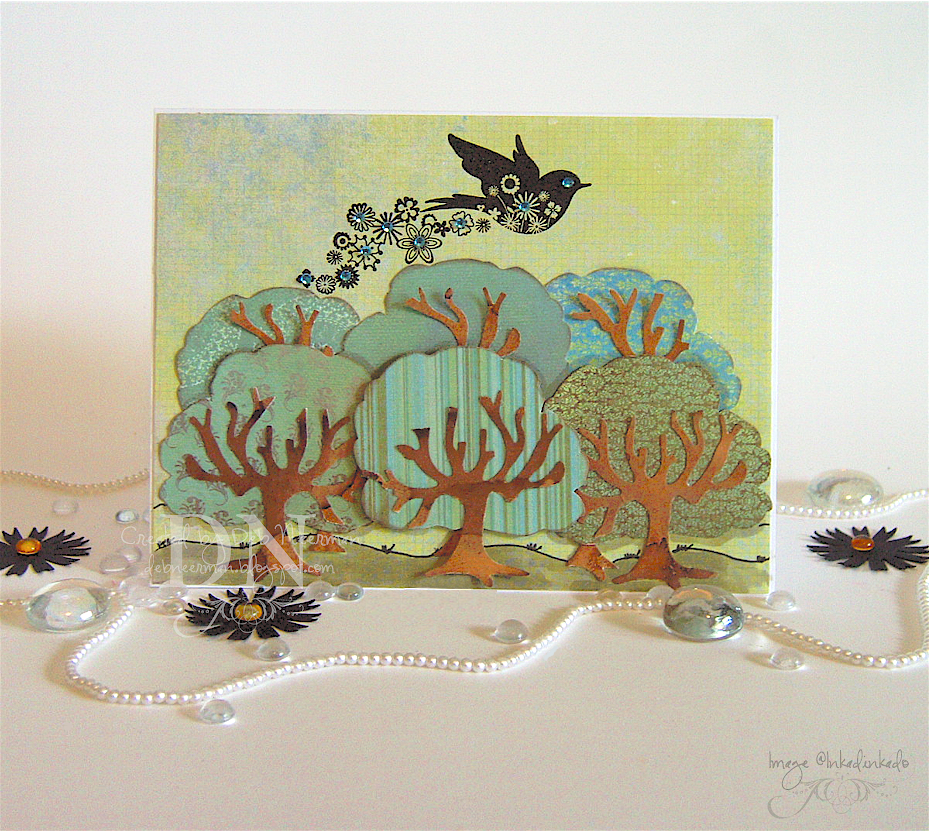
Today's card project was created for no good reason using craft punches and a kewl bird stamp from Inkadinkado. This is such a beautiful stamp, and so realistic, too ... 'cuz all birds fly scattering a trail of flowers and faux gemstones behind 'em! As always, for a closer look, simply clicky on the photo.

Using designer paper from Memory Box, I punched out six trees and using scraps of walnut-ink-stained card stock, I punched out the bare trees.

I adhered all my trees to my card stock base, matted with DP from Basic Grey, popping some of them up on dimensionals.

Using a lining pen, I drew in the ground line and some grass clumps (doesn't that look just like grass!?!), and added some shading with Copic marker W3.

Finally, I used a stamp positioner to stamp my bird using "Graphite Black" Brilliance ink, and added some rhinestone-bling.

Now, be honest, doesn't this scene look just like Central Park ... on LSD?!?

~Hugs,

PS: I've received a couple of emails from peeps askin' about my supply list. Lately, I haven't been including a list and, apparently, some of you actually enjoy seeing which supplies I've used in a project.

I'm happy to include it in my posts, but I'd really appreciate some feedback regarding supply lists ~ do you care, do you read them, or do you think they're a waste of both of our time and energy since you already have all this krap, too? Lemme know whatcha think, okeedokee? Thanks!

Card Stock: Papertrey Ink; Designer Paper: "Periphery" Collection by Basic Grey, "Inspire" Collection by Memory Box; Stamp: Inkadinkado; Ink: "Graphite Black" Brilliance by Tsukineko; Pen: American Crafts; Copic Marker; Tree Punch: Punch Bunch; Bare Tree Punch: McGill; Faux Rhinestones: Michaels (a gift from my pal, Anna); Walnut Ink: 7gypsies; Adhesives: Scrap Fusion PA by Ivy Scraps, Dimensionals: Unknown, Obtained in a Sticky Share

Monday, August 4, 2008

Howdy! Wanna Try the "Bandana" Technique?

Pin It


Happy Monday ... yikes, better duck!

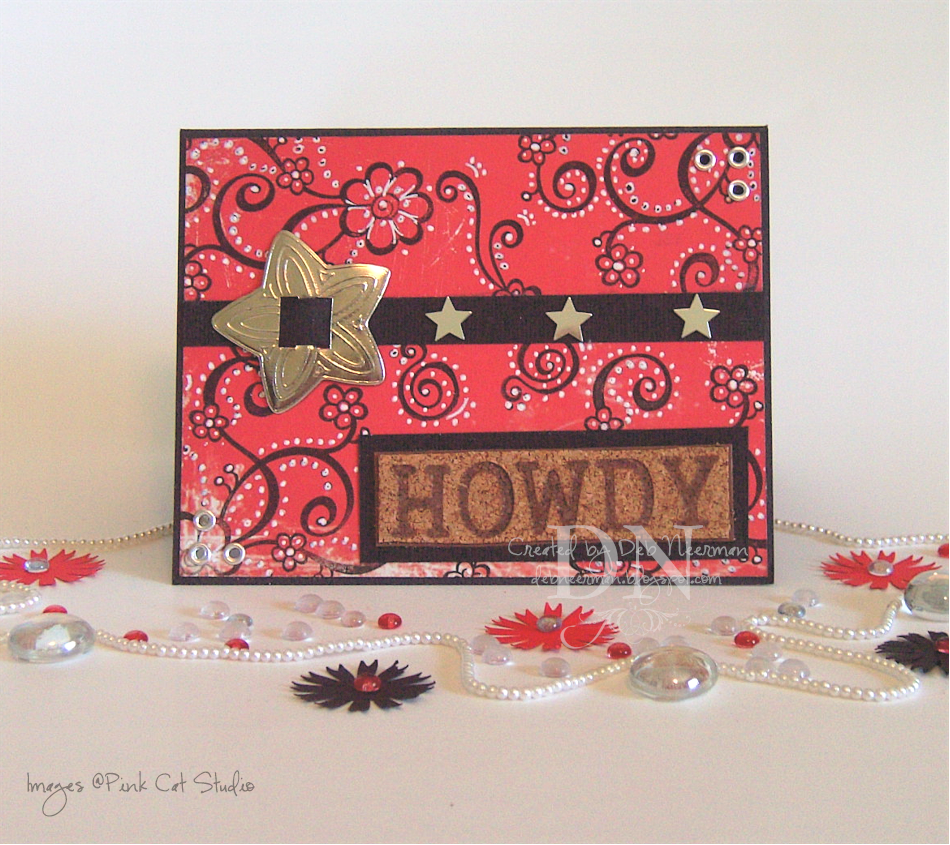
Today's card project was created using the "Bandana" technique. This kewl technique was created by Ranger Industries, featuring their Inkssentials White Opaque Pen ... which is the pen I've used here. For a ginormous closer look, click on the photo.

This technique is super-easy and lots of fun ... you can create your own background to work on, or use designer paper as I've done here. This distressed red paper is from Cosmo Cricket's "Dutch Girl" collection. Yes, I have been using a lot of this collection recently ... but that's only because I hate to put paper back into my over-organized storage cabinet.

I stamped my flourishes, from Pink Cat Studio, using Brilliance "Graphite Black" ink, then heat set. Then, using my Inkssentials pen, I drew lots of little dots, squiqqles, and outlines. And that's it!

I created a 'ribbon' out of matching card stock, added a silver concho, or ribbon slide, depending on your location, some little silver stars that Mel sent me, some eyelets, and my matted, burned sentiment.

This brand-style sentiment was left-over from an earlier project ... if you'd like to know how it was created, click HERE for the deets.

Give the "Bandana" technique a try! If you do, I'd love to see what you create ... just leave a quick link-up in the comments.

Thanks so much for spending part of your crazy Monday with me!

~Hugs,

Sunday, August 3, 2008

Two Beauteous RAKs to Share with You ...

Pin It


Hi boys and girls, happy Sunday!

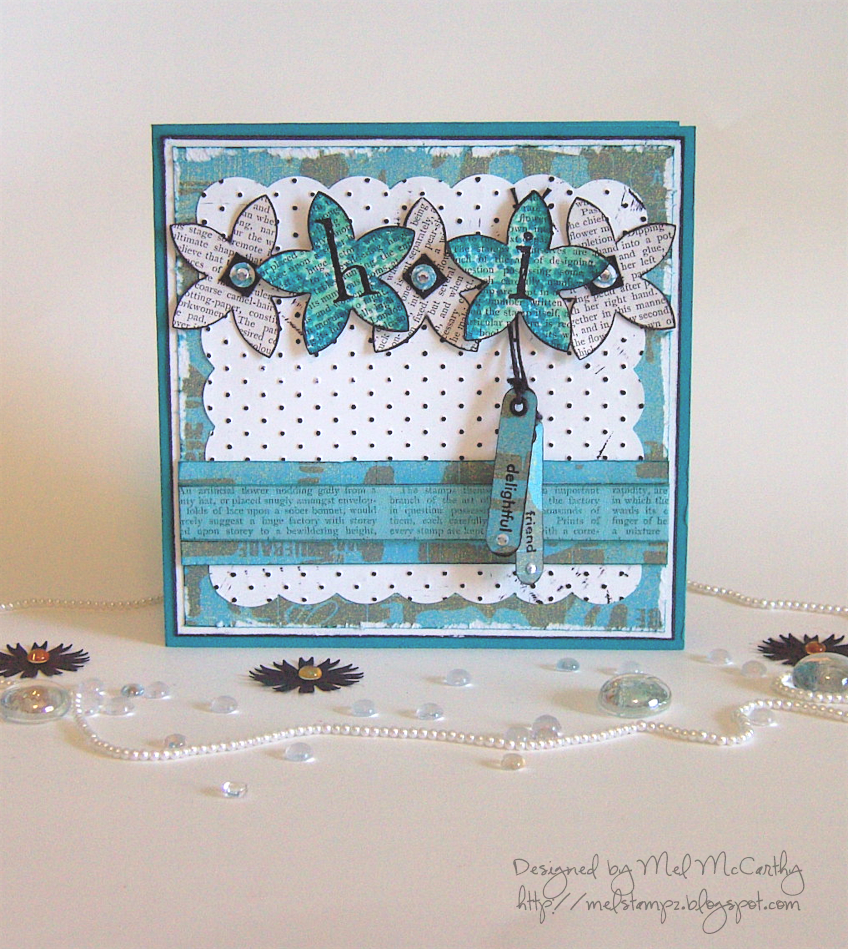
Today, I'm sharing two gorgeous RAK's I received this week. First, Mel sent me this amazing card. Stunning, isn't it?!? And look at the beautiful envelope Mel made for it:

I have to say that this is truly one of the most beautiful cards I've ever seen ... no question! The details are simply fantastic and everything, including the vintage text, coordinates with the flower theme. Mel, this is absolutely stunning; thank you soooooo much! I {heart} you big lots!

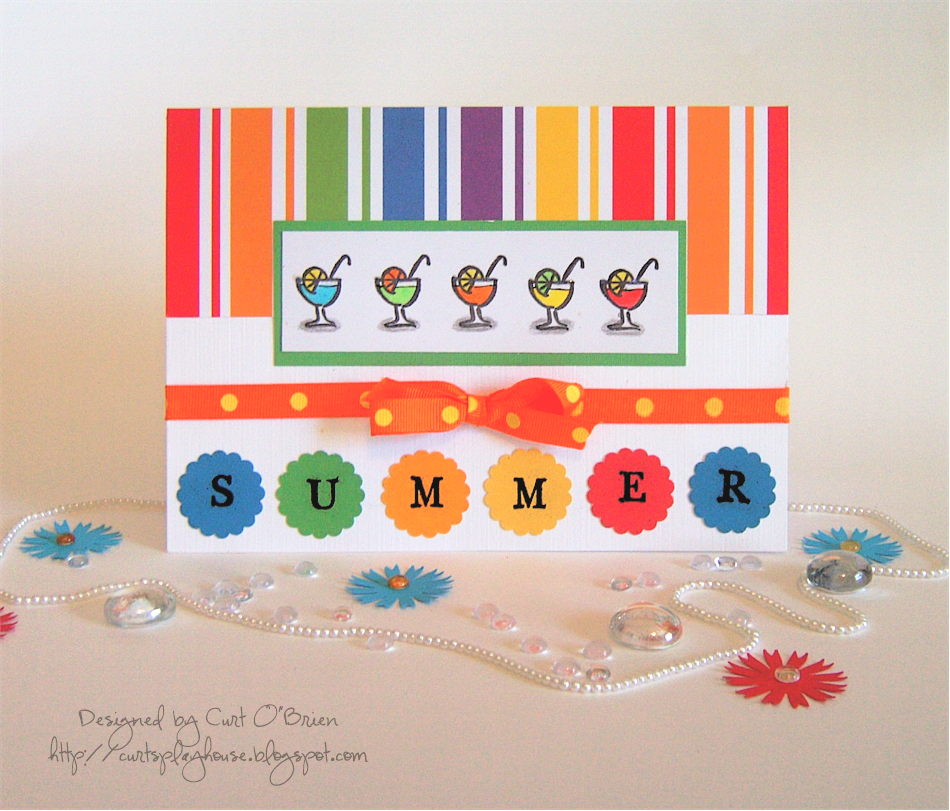
And just when you think things couldn't get anymore delightful, along comes this card:

WoWzA, huh?!? The super-sweet Curt sent me this bright and cheerful card ... stamped with color-coordinated tropical beverages! These glittery cocktails perfectly match the small scallop edge circles below ... sooooooo stinkin' cute! I love this card, thanks soooo much, Curt!

Thank you Mel and Curt for such beauteous happy mail .. and thank you for sharing part of your super-busy Sunday with me; you guys rock!

~Hugs,


Saturday, August 2, 2008

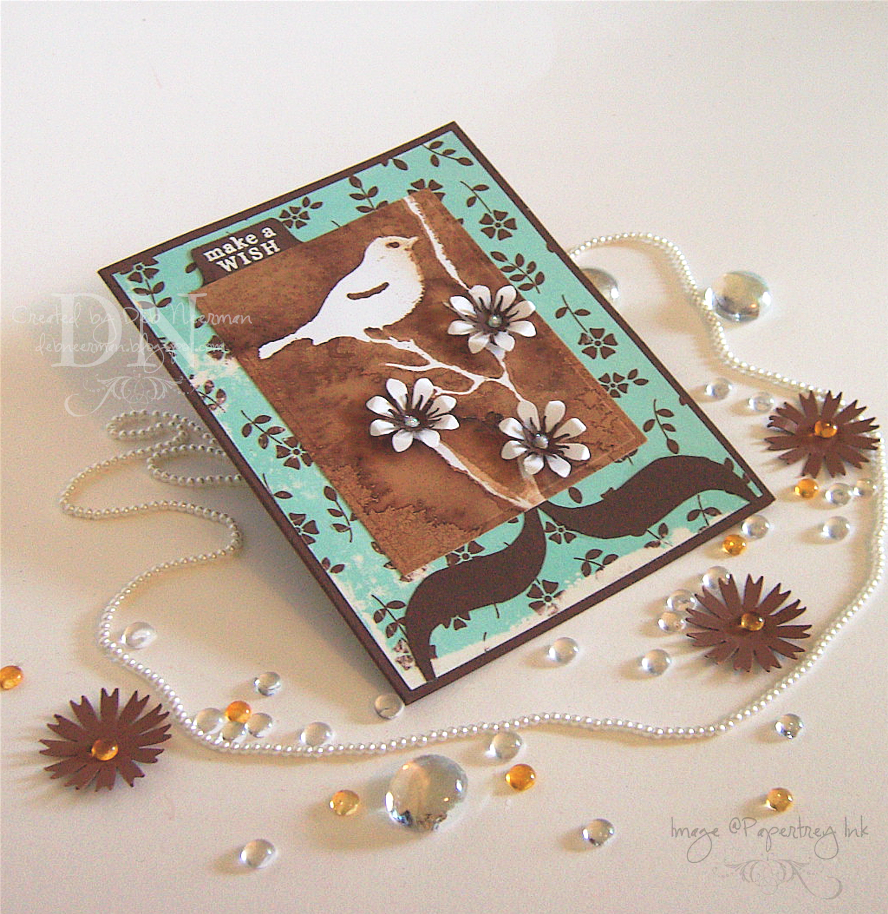
Dreams are Wishes the Heart Makes ... That's the Rumor, Anyway

Pin It


Welcome ladies and gentlemen, boys and girls, and children of all ages!

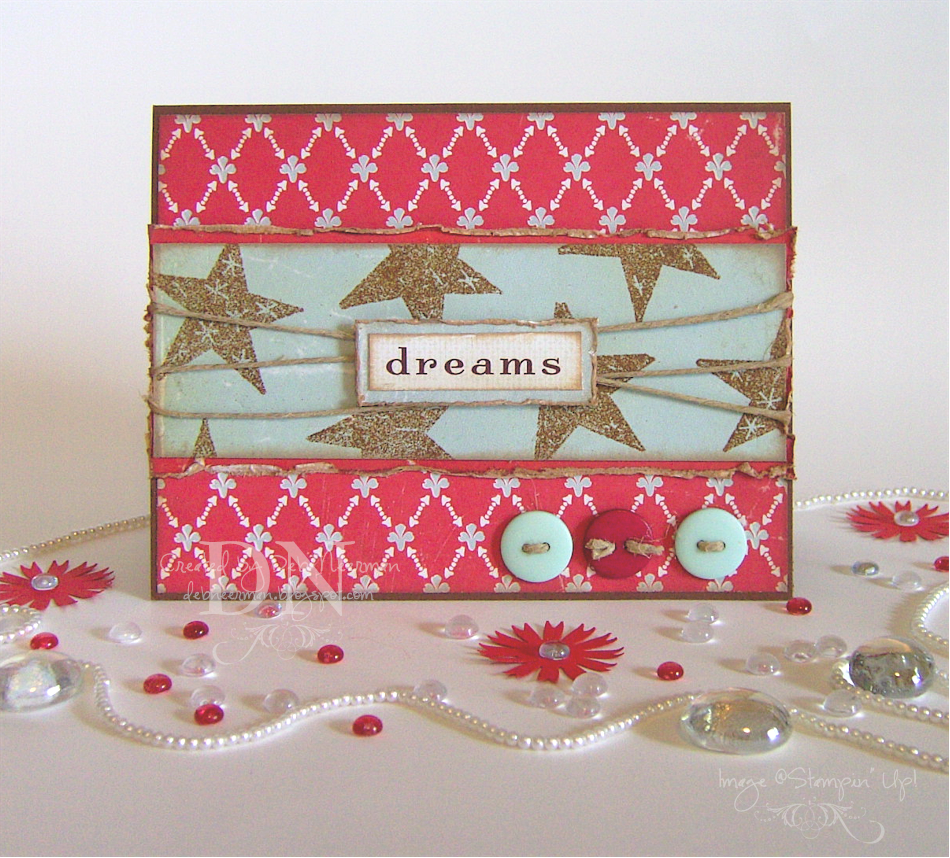
I don't know about you, but I'm lovin' these designer papers from Cosmo Cricket's "Dutch Girl" collection. It's not 'Summer-CHA-new' but I think it's only 3 or 4 CHA's old. Now there's a novel way to date craft supplies, huh?!?

I stamped my image, by Stampin' Up!, (lookie, Mel!) with Ranger Distress Embossing ink, then heat embossed with Ranger Distress Embossing powder, then mounted it on heavily distressed card stock. Quite distressing, huh?

I sponged on lots of "Creamy Brown" fluid chalk ink, added some jute, some buttons, a sentiment, and finis! Quick and dirty easy ... just the way I like 'em!

Thanks so much for spending part of your busy Saturday with me; hope you're having a great weekend!

~Hugs,

Friday, August 1, 2008

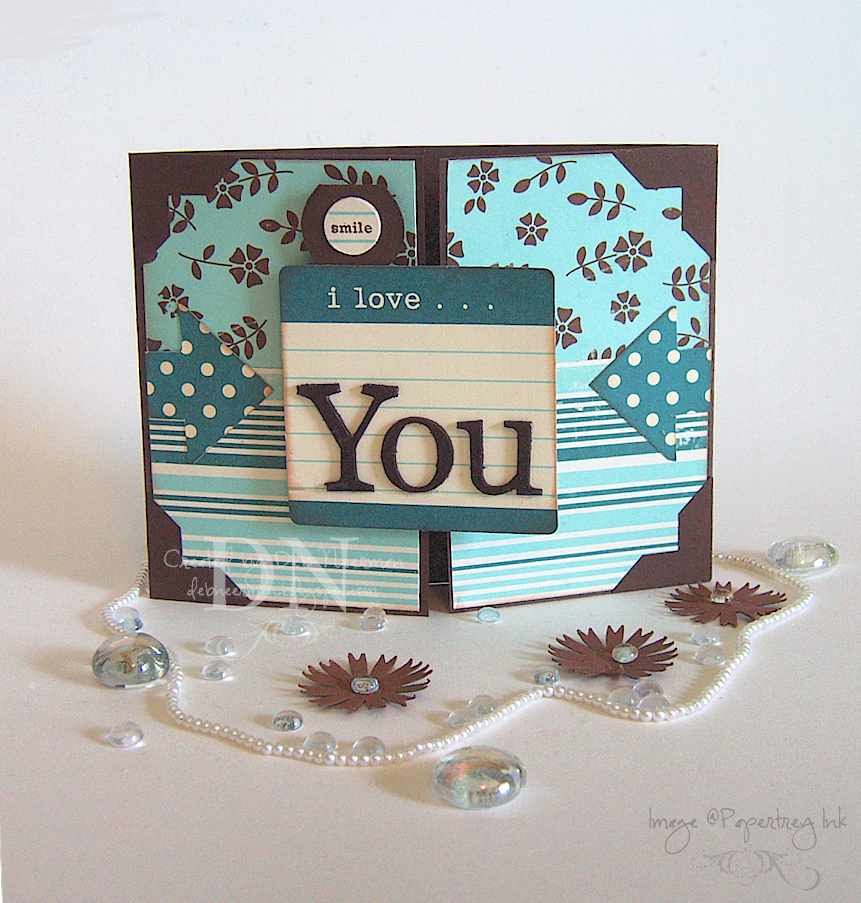
"I Love You" Gatefold Card ... A 15 Minute Project

Pin It


TGIF!

Today's 15 Minute gate fold card was created super-fast using die-cuts from October Afternoon's "County Fair" collection.

I cut my card stock to 4 1/4" x 11", then scored the card stock (starting from the left-hand side), at 2 3/4" and again at 8 1/4". I cut my designer paper to fit the front flaps, added a couple of die-cut arrows, and punched out some photo corners.

I inked up some Grungeboard mini-letters and applied them to a die-cut journaling card, stamped my Papertrey Ink sentiment on a 1/2" punchie, and attached it to a die-cut round file tab.

Finally, I attached the die-cut on to the left-hand side fold using dimensionals. Easy-peasy and ready to serve in just 15 minutes!

Quick update on the Y.ou K.now Y.ou R.ock "Rock the Cover" challenge: as of this writing, we have seventeen simply amazing entries! Click HERE to see 'em. Be sure to get your entry in on or before August 5; and, don't forget to vote for your favorite beginning on August 6!

Thanks so much for spending part of your busy day with me!

~Hugs,

Thursday, July 31, 2008

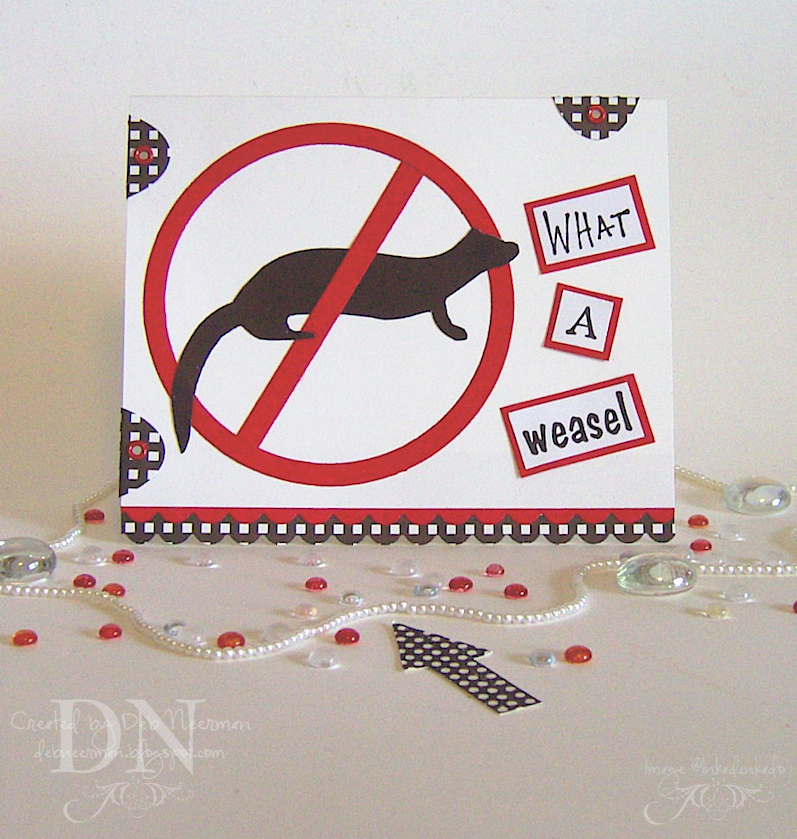
"What a Weasel" ... a Blog Challenge Entry

Pin It


Today's card project was created for Allison's "Suggestive Sunday" blog challenge. This week, Allison asked us to create a card for a friend who has been jilted by a member of the opposite sex.

I used two dies from the large Classic circle Nesties set to create the red circle, then stamped my text on Xerox 110# card stock, matting 'em with DCWV card stock.

I added a couple of scallop-edge borders, some oval tabs, and some bright red eyelets.

Super-quick ... and a profoundly deep message: does it get any better than this?!?

Thanks so much for sharing part of your busy day with me!

~Hugs,


Supplies ~ Card Stock: Xerox 110#, DCWV, Patterned Paper: Unknown; Stamps: Poetic Words, Inkadinkado; Ink: "Graphite Black" Brilliance by Tsukineko; Eyelets: American Crafts; Adhesive: Scrap Fusion PA by Ivy Scraps


Wednesday, July 30, 2008

Christmas in July ... a Blog Challenge Entry

Pin It


Now here's a sobering thought: Christmas Eve is exactly 21 weeks away!

Today's card was created for Sharon's "Stamp Simply" blog challenge. This week, Sharon's theme is, not surprisingly, "Christmas in July." And while this project doesn't look to be "simply stamped," it really is! No, really; would I lie to you?!?

I stamped my image, by Stampers Anonymous, three times; each time changing the ink color. Then, I simply cut my images apart and put them back together. I mounted three of the cut-outs on dimensionals; the other three are glued directly down to the card stock.

Because this kewl image has such a vintage look, I sponged each element fairly heavily with fluid chalk inks.

Finally, I double-matted my stamped image and tied some jute around the fold. Not a 15 minute project, but definitely easy-peasy ... and a project that gives you the false sense of security that comes with thinking that you've already gotten started on your holiday cards!

Thanks so much for spending part of your busy day with me!

~Hugs,


Supplies ~ Card Stock: Bazzill; Stamp: Stampers Anonymous; Inks: "Blazing Red," "Ultramarine," and "Olive Green" Staz-On by Tsukineko, "Chestnut Roan" and "Creamy Brown" Colorbox Fluid Chalk Ink by Clearsnap; Fiber: Natural Jute; Adhesives: Black Dimensionals, Unknown, Scrap Fusion PA by Ivy Scraps

Tuesday, July 29, 2008

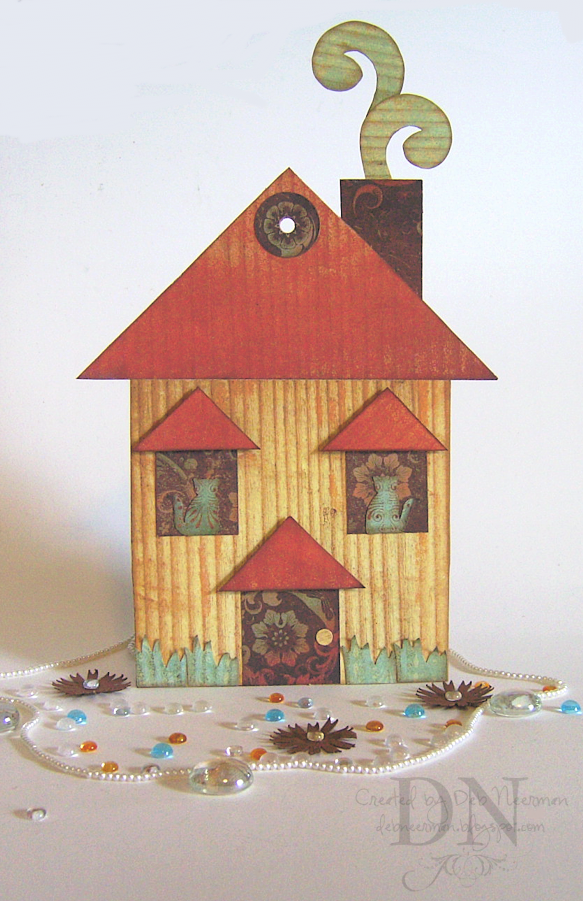
A No-Stampin' House Tag ... a "Tag, You're It" Challenge Entry

Pin It


Happy Tuesday, race fans!

Today's absolutely-no-stampin' tag project was created for this weeks "Tag, You're It" blog challenge. This week, Anne and Sam challenged us to create a non-traditional tag ... I'm fairly certain that this tag qualifies! For a closer look at the 'house' tag, click on the image.

I sketched my house out on heavy-weight card stock, then applied designer papers from Cosmo Cricket's "Wanted" collection. Using craft punches, I created clumps of 'grass' and some funky kitties to sit in the windows.

I sponged all the edges with "Creamy Brown" fluid chalk ink, popped the 'dormers' up on dimensionals, and punched a double circle for my tag hole. I originally had fibers tied through the hole but they looked really ... ummm ... dumb, so I removed them.

This was such a fun challenge and Anne and Sam are so sweet! It's a blast participating in their challenges and I encourage you to visit their blog and do the same ... sooooo, Tag, You're It!

Thanks so much for sharing part of your busy day with me; I {heart} you guys big lots!

~Hugs,


Supplies ~ Card Stock: Cut Card Stock; Designer Paper: "Wanted" Collection by Cosmo Cricket; Ink: "Creamy Brown" Colorbox Fluid Chalk Ink by Clearsnap; Punches: Square Punch by McGill, Double Circle Punch by EK Success, Grass Punch by Carla Craft, Kitty Punch, Unknown; Dimensionals: Unknown, Obtained in a Sticky Share; Adhesive: Scrap Fusion PA by Ivy Scraps

Monday, July 28, 2008

A Sketch Challenge Entry ... and a 15 Minute Project

Pin It


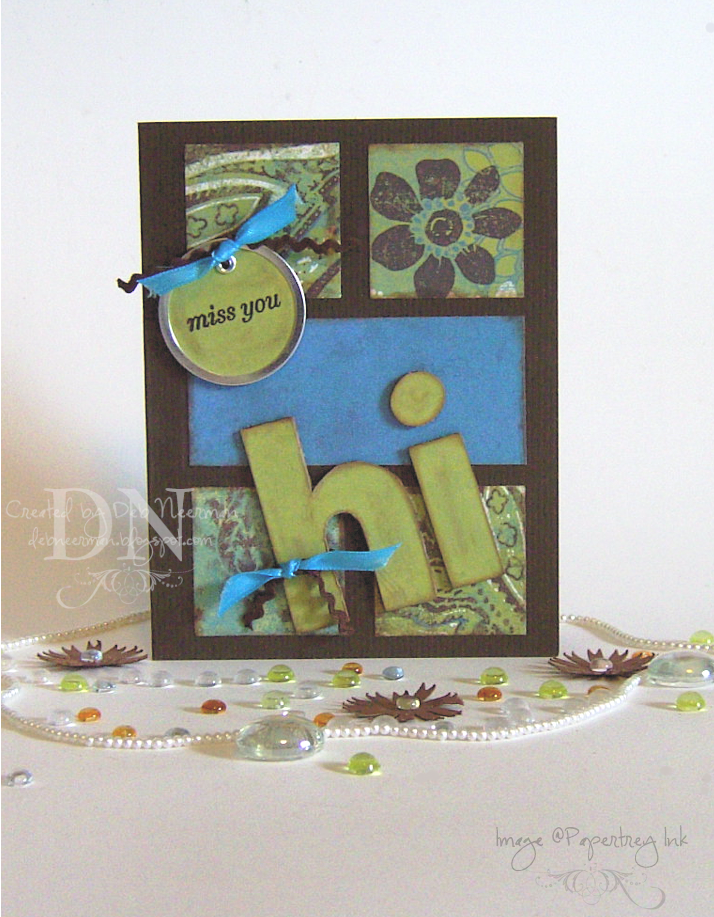
Happy Monday, boy (hi Curt!), and girls!

Today's 15 Minute card project was created for Di Hickman's sketch challenge. For more details on the challenge, or to view the sketch I almost followed, click HERE. I'll say good-bye now 'cuz once you get to Di's blog you're sure to be there for hours!

This card was made super-fast using a square punch, designer papers from My Mind's Eye, some chipboard letters, a round, metal-edge tag, and fluid chalk ink.

I stamped my sentiment on my DP using "Timber Brown" Staz-On ink, created a tag with my Tag Maker tool, then mounted the tag on black dimensionals. Finally, I sponged all the edges of my DP with "Chestnut Roan" fluid chalk ink, tied on some vintage baby rickrack, together with some not-so-vintage scraps of satin ribbon.

Di's challenges are v-e-r-y relaxed and she encourages her challenge players to use her sketch as a "jumping off" point ... allowing you to go where your Muse takes you. I really like her philosophy ... and it's a good thing, too, because my Muse certainly took me fairly far off the mark with this card! I created a second card, one in which I followed the sketch exactly, which I may (or may not, lol), post later this week; I just liked this one better.

Easy-peasy and ready to serve in just 15 Minutes!

Thanks so much for sharing part of your busy day with me; Y.K.Y.R.!

~Hugs,

Supplies ~ Card Stock: Bazzill; Designer Paper: "Bohemia" Collection, My Mind's Eye; Stamp: Papertrey Ink; Ink: Staz-On by Tsukineko, Colorbox Fluid Chalk Ink by Clearsnap; Chipboard: Unknown; Fibers: Unknown; Tag Maker by Making Memories; Square Punch by McGill; Adhesive: Scrap Fusion PA by Ivy Scraps

Sunday, July 27, 2008

A RAK to Share ... And an Award to Pass On!

Pin It

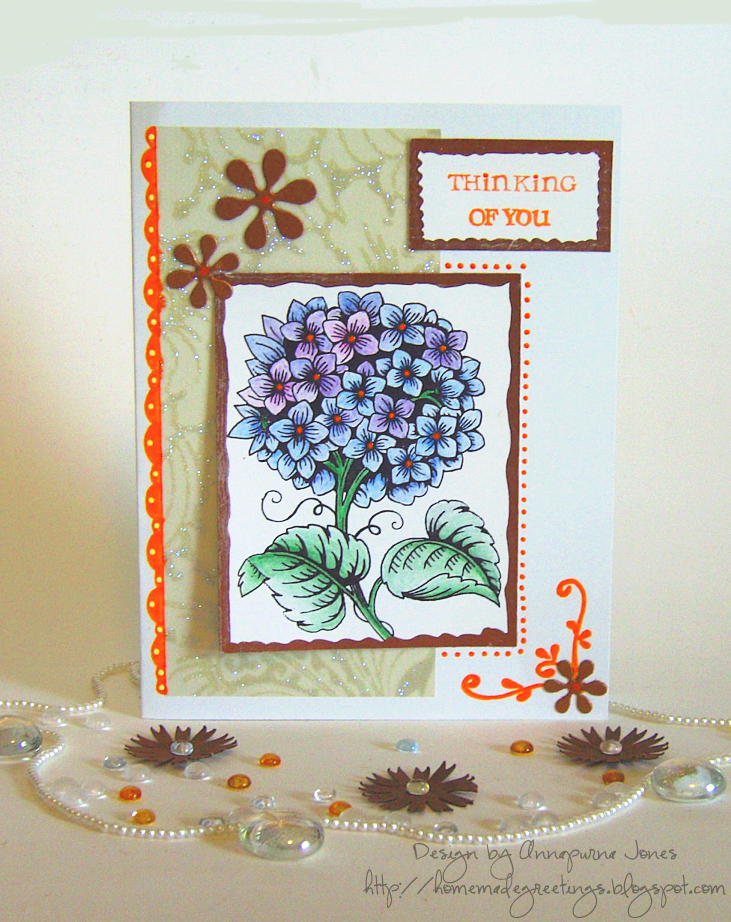
I've been a baaaaaaaaaaad girl! Annapurna sent me this gorgeous card, together with some kewl clear stamps and fun embellishments, two weeks ago:

I put this baby into my "Keep" card stash, and promptly forgot about photographing it and sharing it here. So, my sincere apologies to Anna ... as well as my sincere thanks! You rock, Anna!


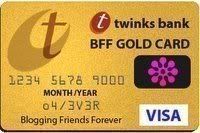
Then, last Thursday, the wonderful Risa of "Life's Simple Pleasures" awarded me this uber-kewl award:

Hmmmmm, I wonder if I could charge on it?

The rules that come with this BFF Gold Card are:

  1. The award must be passed on to five other bloggers;
  2. Four have to be dedicated followers of your blog;
  3. One has to be someone new or recently new to your blog, and live in another part of the world; and,
  4. You must link back to whoever gave you the award.

To be honest, I don't think I have four dedicated followers ... but, in spite of that, I pass this award on to:

  1. Allison;
  2. Anne;
  3. Erica;
  4. Jennifer; and,
  5. Julie

An after-thought: Notice how I've unconsciously put the names in alphabetical order ... WoWzA, that can't be normal, can it!?!?

I've left out a couple of my very favorite BFF bloggin' buddies 'cuz they've already received the award. But they already know how much I {heart} them; that, and the stalkin' ...

Aren't bloggin' Awards fun; they're like a love-fest with kewl graphics! Kinda like Woodstock ... without the kewl graphics ... or the two feet of mud.


Thanks so very much, Risa; I {heart} you big lots!

So, that's all for today girls and boy (hey, Curt). Thanks for swingin' by; hope to see you again tomorrow.

Thanks for sharing part of your busy day with me!

~Hugs,

Saturday, July 26, 2008

Walnut Ink Resist ... Using a Mini Mask

Pin It


Happy Saturday, boys and girls! I don't know about you, but I've loved Saturdays since I was a little kid ... 'cuz Saturday mornings meant just one thing: cartoons! Which has absolutely nothing to do with my post ... but when have I ever let that stop me!

Today's card project was created as an experiment: I wanted to see if I could create a mask resist using a Heidi Swapp mini-mask and walnut ink. As always, if you'd like a ginormous closer look, simply click on the photo.

I placed the mask on Xerox 110# card stock and sprayed on buckets (not really), of walnut ink. I like to really saturate the card stock, allowing the ink to pool up around the mask. Doing so, creates lots of kewl splotches and blotches of color making for a more interesting background.

In spite of the instructions, I left the mask in place overnight while the ink dried; when I removed it, I was really pleased with the results. I was afraid that the mask would allow the ink to seep underneath, ruining the project, but it held up just fine to my buckets (not really), of walnut ink. In fact, very little ink bled under the mask and, as an experiment, I touched up some areas with a Ranger Inkssentials opaque white pen. It blended in perfectly!

I created some flowers with craft punches, stamped and white heat embossed a sentiment, and attached a card stock bracket to the bottom of the card. Finally, I added a dot of Stickles in the center of each flower for some bling.

TIP: Always save the sheet your push-out die-cuts come in; you can easily trace new "die cuts" using the leftover negatives!

I'm pretty pleased with this technique and will definitely be trying it again with other mini-masks. If you create a mask-resist background, leave a comment and a link-up; I'd love to see your project!

Thanks so much for spending part of your busy weekend with me!

~Hugs,


Card Stock: Xerox 110#, CutCardStock; Designer Paper: "County Fair" Collection by October Afternoon; Stamp: Sentiment from Papertrey Ink; "Bird" Mini-Mask by Heidi Swapp; Ink: Versamark Watermark; Fine White Embossing Powder by Powder Keg; Walnut Ink: 7gypsies; White Opaque Pen: "Inkssentials" by Ranger Industries; Stickles by Ranger Industries; Various Craft Punches; File Tab Punch: Stampin' Up!; Adhesive: Scotch ATG 714, Scrap Fusion PA by Ivy Scraps

Friday, July 25, 2008

It's In the Next Cookie ... A Blog Challenge Entry

Pin It


Happy Friday, girls and boy (hey, Curt) ... yup, we're havin' Chinese tonight!

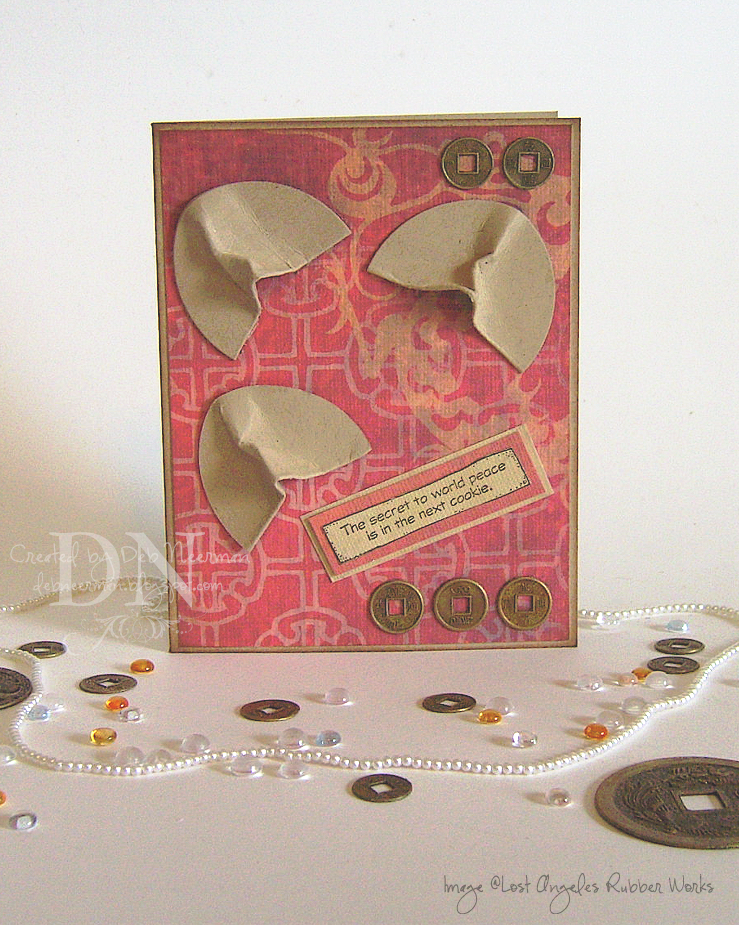
Today's card project was created for Allison's "Suggestive Sunday" blog challenge. This week, Allison asked that we create a humorous card ... so's to make her giggle. I'm not sure she'll giggle over this, but maybe I'll score a chuckle ... okay, maybe a smile.

I decided to use this sentiment stamp from Lost Angeles Rubber Works 'cuz all my other humorous stamps are "R" rated ... or just the tiniest bit sacrilegious ... and since this is a family show, I thought it best not to use 'em.

For my background, I used designer papers from DCWV's "Far East" collection, and created fortune cookies using Kraft card stock. Ummm, yes, that is what those three thingies are supposed to be ... I know it's a bit of a stretch, but short of gluing down real fortune cookies, this was the best I could do.

Do this: squint ... they look l-o-t-s more realistic that way. And who knows, these crazy little 'fortune cookies' just might provide Allison with that giggle she's lookin' for!

I double-matted my sentiment, adhered five Chinese coins, and finis! Dang, I wish I knew the Chinese word for 'finished!'

Update on the Y.ou K.now Y.ou R.ock "Rock the Cover" challenge: As of this writing, we have twelve totally awesome entries! I promise, you will be blown away by these cards! Click HERE to take a look at the "Rock the Cover" gallery. And I can't wait to see your card and inspiration CD cover ... and there's still plenty of time to play, so there goes that excuse, lolol!

Thanks so much for spending part of your busy Friday with me ... I swear, you guys are da bestest!

ETA: Okay, I finally figgered out what these 'fortune cookies' I've made look like: dumplings!! Steamed; not fried ...

~Hugs,

Thursday, July 24, 2008

"Tag, You're It!" A 15 Minute Project and a Blog Challenge Entry

Pin It


Happy Thursday, race fans!

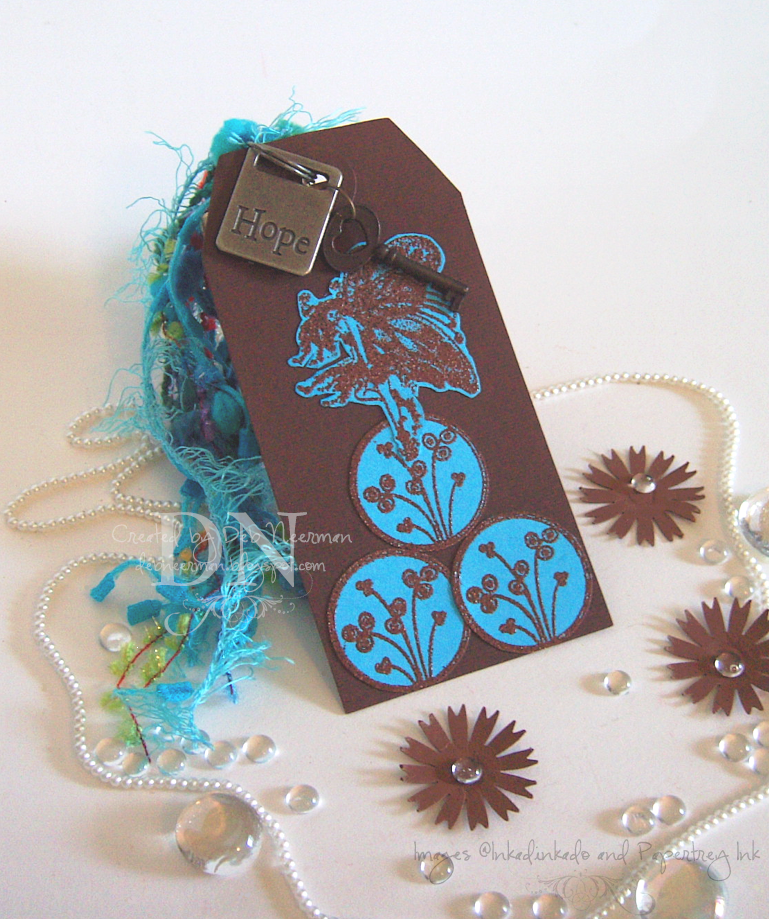
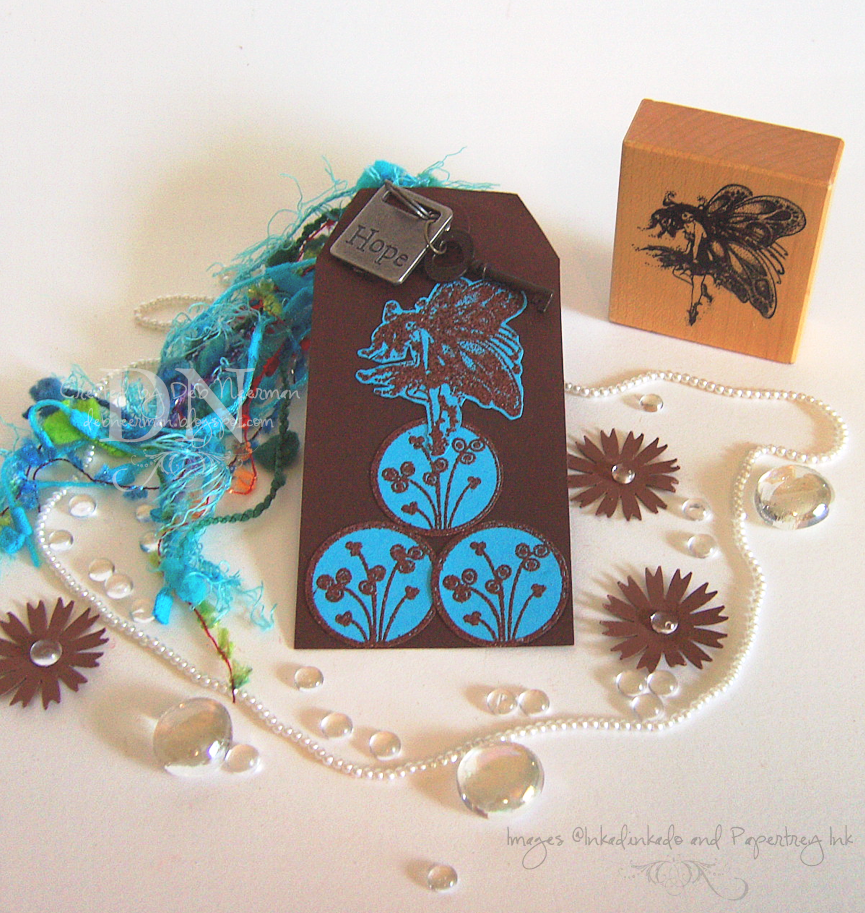
Today's "15 Minute" project was created for the "Tag You're It" blog challenge. This week, the uber-kewl Anne and Sam's challenge theme is "fairies." So I made a tag for the tag challenge ... with a fairy ... a fairy tag for this week's "Tag You're It" fairy tag challenge! I do go on, huh?

This tag was created in a New York minute using a pre-made Bazzill card stock tag. I simply stamped my images in Versamark on scrap card stock and heat embossed with "Java Jolt" embossing powder ... my v-e-r-y favorite embossing powder ... then cut them out and adhered them to my tag:

I added a metal word charm, a skeleton key, and some funky fibers and voila! Done!

Easy-peasy and ready to serve in just 15 Minutes!

I have a question for all you heat embossing pros: My Marvy heat tool is on it's last legs (sob ~ good-bye, old friend), and I'm in need of some recommendations for a new gun. I hear lots of good things about the Milwaukee Heat Tool, Model 1400, but I'm wondering if there's something else available as good, or better, that you'd recommend. If it cost less, well, so much the better! LOL, I want it all and I want it now! Seriously, I truly appreciate any heat gun info you can pass along.

Thanks so much for sharing part of your busy day with me ~ I {heart} you guys lots and lots!

~Hugs,


Card Stock Tag: Bazzill; Card Stock: DCWV; Stamps: Fairy by Inkadinkado, Flower Circles by Papertrey Ink; Ink: Versamark; Embosssing Powder by Comotion; Metal Word Charm by Making Memories; Skeleton Key by 7gypsies; Split Ring: Unknown; Fibers: Various; Adhesive: Scrap Fusion by Ivy Scraps

Wednesday, July 23, 2008

Just Because ... I Wanted To

Pin It


Happy Wednesday, K-Mart shoppers! Sorry; I don't know where that came from ...

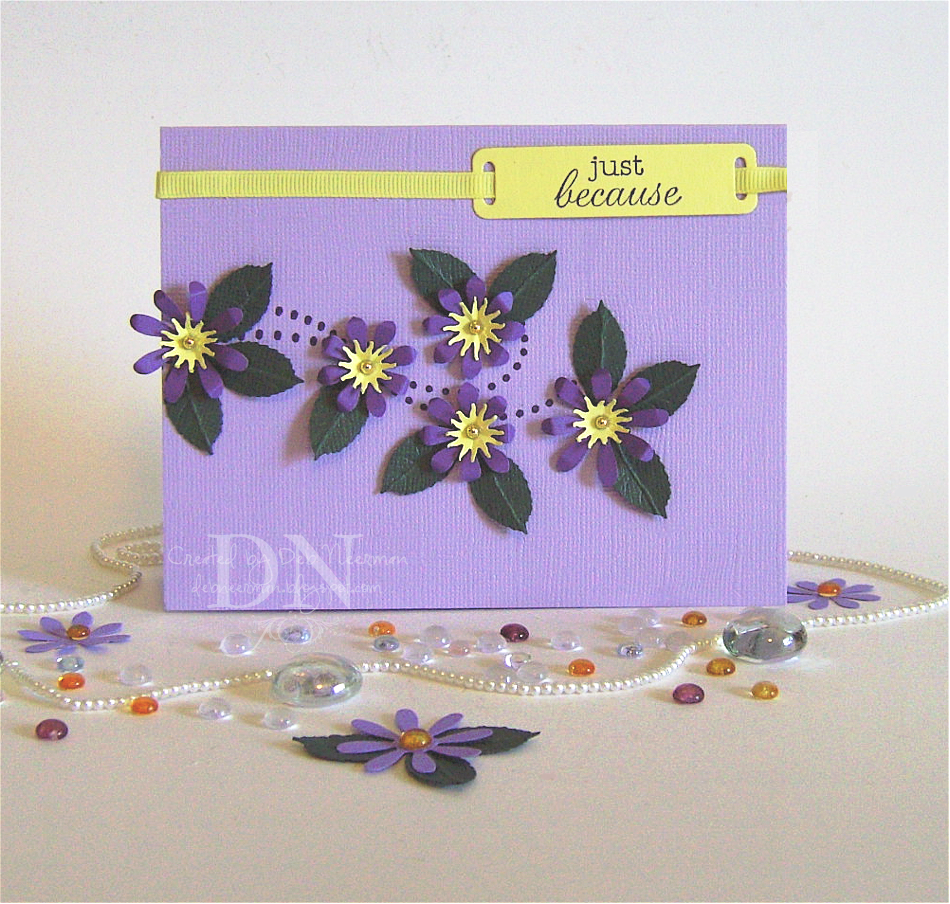
Today's card project was created 'just because' I felt like it ... no, I kid! This card was created for Sharon's "Stamp Simply" challenge. This week, Sharon challenged us to create a card using 1.) a flower; and, b.) the color purple. And so I did. Both.

I stamped my flourish, from Pink Cat Studio, on my card stock base using "Royal Purple" Staz-On ink, then created some flowers using card stock and craft punches. I added some gold rhinestone-like thingies for the centers.

My sentiment was also stamped in royal purple ink on DCWV card stock, then cut in the 'Bug using a die from Spellbinder's Shapeabilities "Ribbon Trio Tags." I added some yellow grosgrain ribbon, and tah dah!

Normally, I credit the various stamp manufacturers right on my image, but for some crazy reason, my image editing program won't allow me to today. I'm hoping this is just a temporary thang, but who knows ... and I don't want to reinstall 'cuz I'll lose dozens of really kewl plug-ins. Anyway, the stamps I used in this project are copyright to Pink Cat Studio (the flourish), and Cornish Heritage Farms (the sentiment).

Thanks so much for sharing part of your busy day with me!

~Hugs,


Tuesday, July 22, 2008

Woohoo! An Award Thingie, A RAK, and I'm an Orange!

Pin It

Happy Tuesday everyone!

Just a quick post today ... I have some stuff to share with you and then my Mojo and I are takin' a short vacation to Key West.

First, the fabulous
Allison of Stampin' When I Can, has this very kewl award she gives out every now and then. Well, I guess it's a "now" 'cuz Allison awarded me, among others, this:

Thank you, Allison!!! I think you're a rockin' blogger, too ... but you already know that!

And, lookie what the mail-person brought me:

Isn't this the cutest card ever?!? I think so, too!

The wonderful Risa of
Life's Simple Pleasures sent this to me and I {heart} it!! I'm such a huge fan of her work so it's soooo nice to have an original. And what could be better than one original Risa card? How 'bout two:

Risa also sent me this super-cute get 'whale' card ... and some paper flowers, some beautifully stamped images, and some Dew Drops, too! What a great surprise, I can't tell you how much it means to me. Thanks so much Risa; you know I {heart} you!

Finally Allison, the
undisputed Queen of all Blog Quizzes, suggested (sorta), that I take this "What Kind of Fruit Are You?" blog quiz. So, I did:

You're an Orange!


You have a zest for life, especially for anything colorful, wild, or dramatic.

You have a unique take on the world, and you're not afraid to be a little funky.

You are a bit reserved toward people who don't know you well.

You have a thick skin, which can protect you from anything that goes wrong in your life.

Once someone does get to know you, they totally "get" and appreciate you.

Your friends see you as a bright person with a refreshing take on life.

(Kinda kewl me being an "orange" since I'm literally surrounded by orange groves!)

Now, you go:


Okay, girls and boy, (hi Curt!), that is all for today ... I just wanted to share all this fun stuff with you and, more importantly, I wanted so stay well within the perimeters of Stamping Blogdom's Official Rules and Regulations, Section IV, Sub-Section: RAK's, Chapter: Public Acknowledgement, Paragraph 5.

Updated for Annapurna: Said Official Rules and Regulations, Section IV, Sub-Section: RAK's, Chapter: Public Acknowledgement, Paragraph 5 reads, "you are required to post and share your RAK's within a 30 day period, allowing additional time if receiver is ill, out of the country, or without Internet access."

Thanks so much for sharing part of your busy day with me; hope to see you tomorrow!


And thanks again, Risa: Y.K.Y.R.!!

~Hugs,


Monday, July 21, 2008

Hey Tweetie ...

Pin It


Happy Monday, boys and girls!

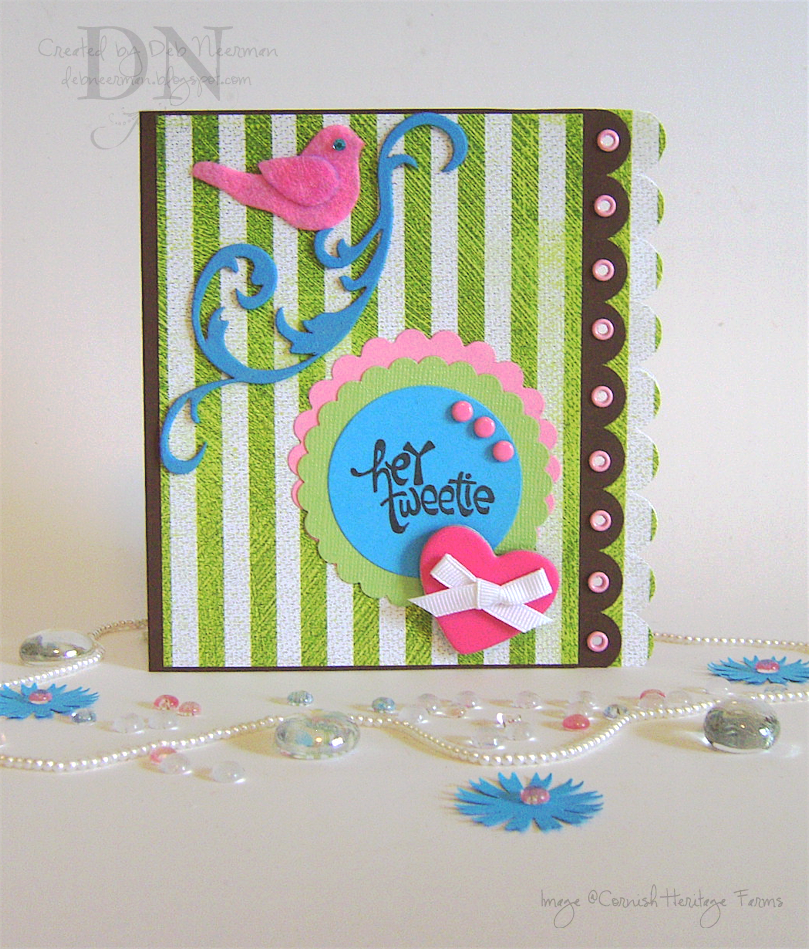
Today's card project was created using designer paper from Daisy D's, a Grungeboard flourish, a felt bird, and a chipboard heart.

This is one of those projects that started out to be one thing and totally turned out to be something else! Don't ask, it's a long story ...

I added some DP from Daisy D's "Girlfriends" collection to my card stock base, added some embellies, applied two scalloped edges (created with my slit punch), and attached nine pink eyelets using a Crop-a-Dile.

I applied some Colorbox Brush Pigment ink to the grungeboard ... I'm not sure how I feel about this product yet. While it did take the ink beautifully, I'm not sure it's something you have to have. Chipboard would be a good substitute I guess. But since I have three packages of this stuff, I better start using, and hopefully, liking this product.

My sentiment, from Cornish Heritage Farms, was stamped using "Timber Brown" Staz-On solvent ink. I added some brads, a bit of ribbon, and a tiny felt bird, and finis!

Thanks so much for spending part of your busy day with me; you rock!

~Hugs,


Card Stock: Bazzill and DCWV; Designer Paper by Daisy D's; Stamp: "Pretty Bird" Cornish Heritage Farms; Inks: Colorbox Pigment Brush Ink by Clearsnap, Staz-On by Tsukineko; Grungeboard: Tim Holtz Ideology; Felt Bird by Maya Road; Brads and Eyelets: Unknown; Grosgrain Ribbon: Unknown; Tiny Gemstone by Hero Arts; Adhesive: ATG 714, The Ultimate by Api, and Scrap Fusion by Ivy Fusion; Tools: Crop-a-Dile by We Are Memory Keepers; Slit Punch: Stampin' Up!; Dies: Nestabilities by Spellbinder's; Die-Cut Machine: Provo Craft